

Fedora’s built-in recorder is fine for quick clips, but OBS is what you reach for when you need scene control, better audio routing, and streaming workflows that scale beyond one-off captures. If you want to install OBS Studio on Fedora Linux, start with the comparison below, then use the command path that fits your setup.
Both installation methods are covered here end to end, plus the RPM Fusion plugin path for users who want extra OBS features on top of Fedora’s core package. You also get verification, virtual camera setup, hardware encoding checks, updates, troubleshooting, and clean removal. You can track upstream releases on the OBS Studio GitHub releases page.
Install OBS Studio on Fedora Linux
Select one installation path that matches your update expectations and integration needs. Do not mix DNF and Flatpak instructions.
| Method | Channel | Version | Updates | Best For |
|---|---|---|---|---|
| DNF (Fedora) | Fedora official repos | Fedora-packaged stable build | sudo dnf upgrade --refresh | Native integration with Fedora packages |
| DNF + RPM Fusion plugins | Fedora updates + RPM Fusion | Fedora OBS core + optional plugin extras | sudo dnf upgrade --refresh | Native RPM workflow plus x264 or DistroAV plugins |
| Flatpak (Official) | Flathub | Usually newest upstream release | sudo flatpak update --system | Fast upstream updates with sandboxing |
- Choose Flatpak if you want the newest OBS releases with minimal setup.
- Choose DNF (Fedora) for a pure Fedora-native package workflow.
- Choose DNF + RPM Fusion plugins when you need extra OBS plugin features.
Recommendation: Prefer the Flatpak build unless you specifically require native system-library integration. If you choose RPMs, favor Fedora’s repository build first. Use RPM Fusion only for optional extras such as v4l2loopback, and review transaction changes before confirming installs.
Install OBS Studio via DNF on Fedora Linux
Update Fedora Before Installing OBS Studio
Refresh packages first to minimize dependency conflicts:
sudo dnf upgrade --refreshThis walkthrough uses
sudofor system changes. If your account is not in the sudoers group yet, run commands as root or follow the Fedora guide on adding a user to sudo.
Install OBS Studio with DNF
Next, install the community Fedora package:
sudo dnf install obs-studioAfter installation completes, confirm OBS runs correctly:
obs --versionAt this point, the expected output (version varies) resembles:
OBS Studio - 32.0.4 (linux)
Version numbers change frequently; any current stable number indicates success. Focus on absence of errors rather than matching the example exactly.
Install OBS Studio with RPM Fusion Add-on Plugins (Optional)
Fedora provides the core obs-studio package, while RPM Fusion provides extra plugin packages. If you want extras such as x264 encoding or NDI support, enable RPM Fusion and install the plugin packages below.
sudo dnf install https://mirrors.rpmfusion.org/free/fedora/rpmfusion-free-release-$(rpm -E %fedora).noarch.rpm https://mirrors.rpmfusion.org/nonfree/fedora/rpmfusion-nonfree-release-$(rpm -E %fedora).noarch.rpm
sudo dnf install obs-studio-plugin-x264 obs-studio-plugin-distroav
Verify that OBS and the selected plugin packages are installed:
rpm -q obs-studio obs-studio-plugin-x264 obs-studio-plugin-distroavobs-studio-32.0.4-2.fc43.x86_64 obs-studio-plugin-x264-32.0.2-1.fc43.x86_64 obs-studio-plugin-distroav-6.1.1-1.fc43.x86_64
This plugin path keeps the main OBS package from Fedora updates and layers plugin packages from RPM Fusion. If you do not need NDI features, skip
obs-studio-plugin-distroav.
Install OBS Studio Development Files (Optional)
Plugin authors or developers compiling custom modules can install headers and CMake configuration files. These allow building and linking third-party OBS plugins cleanly:
sudo dnf install obs-studio-develAfter installation, inspect a few installed paths (truncated example):
rpm -ql obs-studio-devel | head -n 10/usr/include/obs /usr/include/obs/callback /usr/include/obs/callback/calldata.h /usr/include/obs/graphics /usr/include/obs/graphics/axisang.h /usr/include/obs/obs.h /usr/include/obs/obs-module.h /usr/lib64/cmake/LibObs /usr/lib64/cmake/LibObs/LibObsConfig.cmake /usr/lib64/cmake/LibObs/LibObsTargets.cmake
Enable OBS Virtual Camera Support (Optional)
To enable virtual camera support, you need the v4l2loopback kernel module, which is available from RPM Fusion. If RPM Fusion is already enabled from the plugin section above, run only the second command:
sudo dnf install https://mirrors.rpmfusion.org/free/fedora/rpmfusion-free-release-$(rpm -E %fedora).noarch.rpm https://mirrors.rpmfusion.org/nonfree/fedora/rpmfusion-nonfree-release-$(rpm -E %fedora).noarch.rpm
sudo dnf install kmod-v4l2loopback
The
$(rpm -E %fedora)expression expands to your current Fedora release number (such as 43). This ensures the command works across Fedora versions without manual URL edits. For systems with frequent kernel updates, considerakmod-v4l2loopbackinstead, which automatically rebuilds the module when new kernels are installed.
After installation, confirm the module loaded (OBS can auto-load it on first virtual camera use):
lsmod | grep v4l2loopback || echo "Module not loaded yet"Expected output example (presence indicates success):
v4l2loopback 16384 0
If the module does not load automatically, load it manually with the following command:
sudo modprobe v4l2loopback exclusive_caps=1 card_label='OBS Virtual Camera'If modprobe reports Module v4l2loopback not found, build the module for your running kernel, then load it:
sudo akmods --force --kernels $(uname -r) --akmod v4l2loopback
sudo modprobe v4l2loopback exclusive_caps=1 card_label='OBS Virtual Camera'
For more repository management details, see the RPM Fusion guide for Fedora. If SELinux interferes with capture or encoding, review SELinux guidance for Fedora and prefer creating policy exceptions rather than disabling SELinux entirely.
Enable OBS Hardware Encoding (Optional)
Hardware encoders reduce CPU load. Install the correct drivers first (NVIDIA proprietary driver for NVENC; Mesa VAAPI for Intel/AMD). After you enable RPM Fusion, NVENC libraries become available with the driver packages. If you plan to use NVENC, install the proprietary drivers: see the NVIDIA drivers guide for Fedora.
Install VAAPI utilities and drivers if missing, then confirm capabilities:
sudo dnf install libva-utils mesa-va-drivers
vainfo | grep -i h264 || echo "VAAPI not detected: check drivers/packages"
For reference, a healthy output includes lines similar to:
VAProfileH264High    : VAEntrypointVLD
VAProfileHEVCMain    : VAEntrypointVLD
After installing drivers, restart OBS and confirm OBS detects the hardware encoders. Open OBS, navigate to Settings → Output → Encoder dropdown. Successful detection shows options like H.264 (NVENC), H.264 (VAAPI), or FFmpeg VAAPI variants. If only software encoders (x264) appear, confirm driver installation completed and restart your system so the kernel modules load properly.
Install OBS Studio via Flatpak on Fedora Linux
OBS upstream supports and recommends the Flatpak build. Fedora Workstation includes Flatpak by default; if you removed it or you run a minimal install, reinstall with sudo dnf install flatpak then enable Flathub below.
Enable Flathub for OBS Studio
To begin, enable Flathub to access Flatpak applications:
sudo flatpak remote-add --if-not-exists --system flathub https://dl.flathub.org/repo/flathub.flatpakrepoInstall OBS Studio (Flatpak)
Next, install the application:
sudo flatpak install --system flathub com.obsproject.StudioAfter installation completes, confirm OBS installed correctly and check its version:
flatpak info com.obsproject.Studio | grep -E "Version|Runtime" Version: 32.0.4
Runtime: org.kde.Platform/x86_64/6.8
The version number confirms successful installation. The runtime indicates which KDE platform libraries OBS uses for its interface. The grep filter keeps output short by showing only the lines you care about; for broader pattern examples, see this grep command reference.
Fix Flathub Repository Access Issues
If you encounter an error indicating Flathub is disabled, you’ll see output similar to:
error: Unable to load summary from remote flathub: Can't fetch summary from disabled remote 'flathub'
In that case, enable the Flathub repository:
sudo flatpak remote-modify --system --enable flathubAfter re-enabling, confirm the repository appears:
flatpak remotes --systemfedora oci flathub
If Flathub appears in the list, retry the OBS Studio installation command.
Troubleshoot OBS Studio on Fedora Linux
Fix OBS Wayland Screen Capture Blank Preview
Fedora 43 and later use Wayland exclusively for GNOME (Fedora removed the X11 session). Always use the Screen Capture (PipeWire) source for Wayland sessions. The legacy Xcomposite and Display Capture sources do not work on Wayland and show a black preview.
If the preview stays black even with the correct source, first verify PipeWire is running:
systemctl --user status pipewireExpected output shows active status:
● pipewire.service - PipeWire Multimedia Service
     Active: active (running)
If inactive or missing, install the portal packages:
sudo dnf install xdg-desktop-portal xdg-desktop-portal-gnomeThen restart the session and relaunch OBS.
If capture fails unexpectedly on Fedora, check for SELinux denials and suggested fixes:
journalctl -t setroubleshoot | tail -n 50 || echo "No recent SELinux alerts"
sealert -a /var/log/audit/audit.log || echo "sealert not available"
Fix Missing OBS Audio Sources
If OBS shows no audio devices in the mixer, confirm the system detects PipeWire or PulseAudio sources:
pactl list short sourcesHealthy output lists available audio sources:
0  alsa_input.pci-0000_00_1f.3.analog-stereo
1  alsa_output.pci-0000_00_1f.3.analog-stereo.monitor
If the list appears empty or you notice missing devices, restart the audio session:
systemctl --user restart pipewire pipewire-pulseThen relaunch OBS and verify audio meters respond when you speak or play sound.
Fix OBS Virtual Camera Not Appearing
If the “Start Virtual Camera” button does not appear in OBS Controls, confirm the kernel module loaded:
lsmod | grep v4l2loopbackIf the command returns no output, the module did not load. Load it manually:
sudo modprobe v4l2loopback exclusive_caps=1 card_label='OBS Virtual Camera'If you receive modprobe: FATAL: Module v4l2loopback not found, build the module for your current kernel and retry:
sudo akmods --force --kernels $(uname -r) --akmod v4l2loopback
sudo modprobe v4l2loopback exclusive_caps=1 card_label='OBS Virtual Camera'
Then restart OBS and confirm “Start Virtual Camera” appears under Controls. If the module still does not load, verify you installed kmod-v4l2loopback (see virtual camera section above).
Fix OBS Flatpak File Access
If OBS cannot see expected folders, cautiously grant overrides:
flatpak override --user --filesystem=$HOME/Videos com.obsproject.StudioInspect permissions and remove overrides if unnecessary:
flatpak permission-show com.obsproject.Studio
flatpak override --user --reset com.obsproject.Studio
Fix OBS Studio Not Launching
If OBS fails to launch, first check which installation method is currently present, then run the matching launch command.
rpm -q obs-studio || echo "DNF package not installed"
flatpak info com.obsproject.Studio || echo "Flatpak app not installed"
obs-studio-32.0.4-2.fc43.x86_64 error: com.obsproject.Studio/*unspecified*/*unspecified* not installed Flatpak app not installed
If DNF reports OBS as installed, test the native launch path:
obs --versionIf Flatpak reports OBS as installed, test the Flatpak launch path:
flatpak run com.obsproject.StudioWhen both paths fail, reinstall the method you intend to keep and remove the other one to avoid mixed troubleshooting states.
Launch OBS Studio on Fedora Linux
For everyday use, launch from the terminal or applications menu.
Launch OBS Studio from Terminal
obsAlternatively, use the Flatpak identifier:
flatpak run com.obsproject.StudioLaunch OBS Studio from Applications Menu
Open Activities and search for “OBS Studio,” then click the icon to launch. Alternatively, open the full application grid and locate OBS Studio in the list.
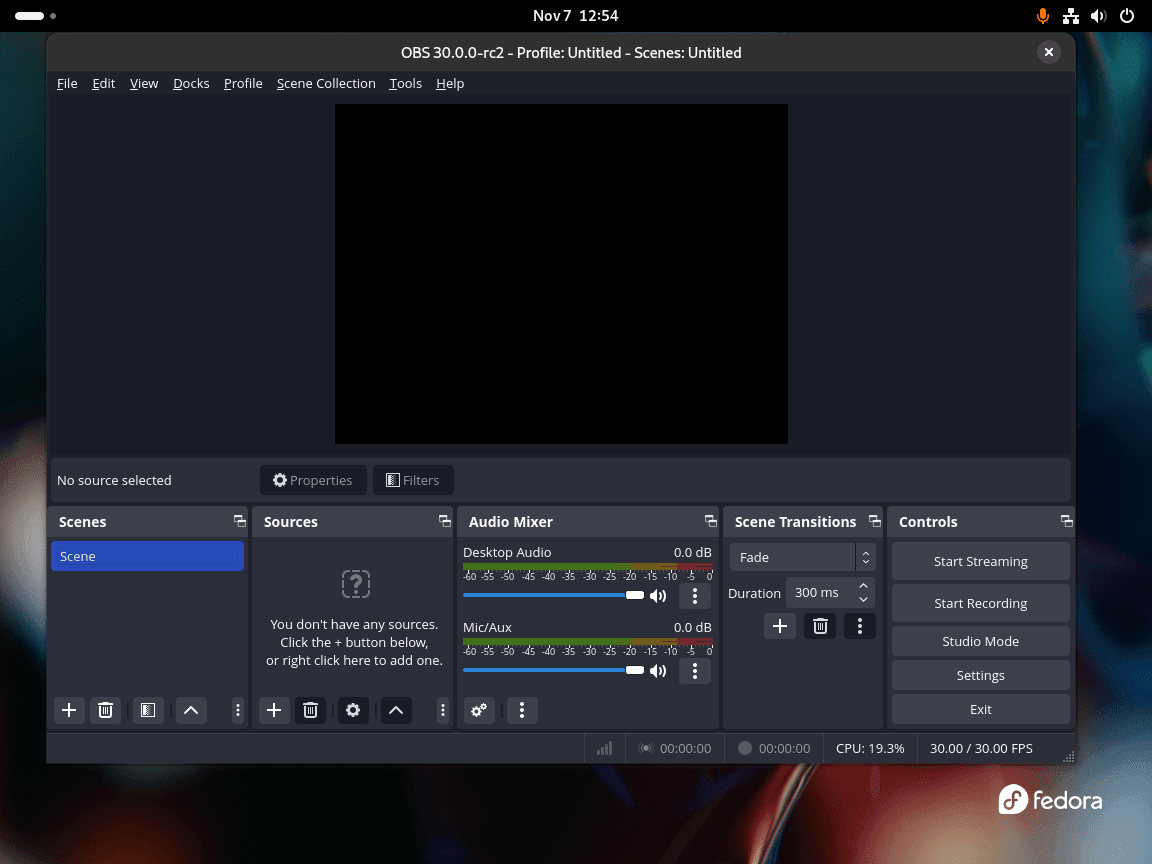
During the initial run, a configuration wizard can auto-tune settings; alternatively, skip and adjust manually. Scenes (left) group layouts while sources (center) add screen captures, cameras, and audio inputs.
OBS Studio First-Run Checklist (Quick Verification)
- Add a Scene and a Source: use Screen Capture (PipeWire) for Wayland (the default on Fedora 43+).
- Start a short recording and confirm OBS saves a file to your Output path.
- Check audio meters move for your microphone and desktop audio; adjust monitoring/output as needed.
Manage OBS Studio on Fedora Linux
Use the package manager matching your installation method to keep OBS Studio current.
Update OBS Studio via DNF
To stay current, update all system packages (includes OBS Studio):
sudo dnf upgrade --refreshAlternatively, update only OBS Studio:
sudo dnf upgrade obs-studioAfterward, verify the version:
obs --versionOBS Studio - 32.0.4 (linux)
Update OBS Studio via Flatpak
Likewise, update all Flatpak applications (includes OBS Studio):
sudo flatpak update --systemAlternatively, update only OBS Studio:
sudo flatpak update --system com.obsproject.StudioAfterward, verify Flatpak version info:
flatpak info com.obsproject.Studio | grep -E "Version|Runtime" Version: 32.0.4
Runtime: org.kde.Platform/x86_64/6.8
To uninstall OBS Studio, use the package manager matching your installation method.
Remove OBS Studio via DNF
sudo dnf remove obs-studioAfter removing the package, optionally clean residual dependencies:
sudo dnf autoremoveThen confirm removal succeeded (this command returns an error if OBS no longer exists):
obs --version || echo "OBS removed"bash: obs: command not found OBS removed
Afterward, optionally remove user configuration:
These deletions permanently remove profiles, scene collections, custom docks, and cached data. Export scene collections and profiles first (Profile → Export; Scene Collection → Export). This command does not remove recordings stored outside the default output directory (e.g., custom paths in Settings → Output).
rm -rf ~/.config/obs-studio
rm -rf ~/.cache/obs-studio
Remove OBS Studio via Flatpak
sudo flatpak remove --system com.obsproject.StudioThen, verify removal:
flatpak info com.obsproject.Studio || echo "Flatpak removed"error: com.obsproject.Studio not installed Flatpak removed
If you also want to remove per-user Flatpak settings, delete the app data directory manually:
This deletion permanently removes OBS Studio profiles and local Flatpak app settings for your user account. It does not remove recordings stored in your custom output folders.
rm -rf ~/.var/app/com.obsproject.StudioFrequently Asked Questions
Use Flatpak if you want the newest upstream release cadence and a sandboxed runtime. Use Fedora DNF packages if you prefer tighter host integration and a workflow managed entirely through dnf updates.
On Fedora Linux, the core obs-studio package is provided by Fedora repositories and updates. RPM Fusion mainly provides add-on OBS plugin packages, such as x264 and DistroAV, that you can install on top of the Fedora package.
OBS virtual camera depends on the v4l2loopback kernel module from RPM Fusion. Install kmod-v4l2loopback, and if modprobe reports the module is missing, build it for your running kernel with akmods before relaunching OBS.
On Fedora Wayland sessions, use Screen Capture (PipeWire) instead of legacy X11 capture sources. If the preview remains black, confirm pipewire and xdg-desktop-portal packages are active, then restart your session and relaunch OBS.
OBS is primarily controlled from its GUI. For terminal launch use obs or flatpak run com.obsproject.Studio, then start recording inside OBS. Advanced automation exists through scripting and websocket tooling, but normal desktop recording workflows still start from the interface.
Conclusion
OBS Studio is now ready on Fedora Linux with either the native DNF package or the official Flatpak workflow, and you can layer optional RPM Fusion plugins when you need extra encoder or integration features. For the next step in your capture stack, see how to install FFmpeg on Fedora Linux, install VLC Media Player on Fedora Linux, and install HandBrake on Fedora Linux.

thansk. Now my Fedora 43 with Vega gpu can only do 1024*768. Your instructions are awesome.
John,
1024x768on Vega usually means Fedora fell back to generic display mode. That is a graphics stack issue, not an OBS limit.From a local terminal on the affected system, run:
If you see
nomodesetin cmdline or noamdgpumodule, run:If resolution is still stuck after reboot, test another HDMI/DP cable or port and share the command output above.