Plex keeps your movies, TV shows, music, and photos on your own hardware while still giving you a polished streaming interface across your devices. To install Plex Media Server on Ubuntu, use Plex’s current APT repository, because Ubuntu’s default archives do not ship the up-to-date server package.
The same package works on Ubuntu 26.04, 24.04, and 22.04, including Ubuntu Server, but the first-run setup still happens in a browser. You do not need to chase a standalone .deb download on Ubuntu, because Plex’s official repository delivers the same server package with updates. You’ll add Plex’s current repository, verify the service and web listener, use an SSH tunnel for headless installs, fix media-folder permissions, and handle updates, remote access, and removal without losing your library data by accident.
Install Plex Media Server on Ubuntu
These steps support Ubuntu 26.04 LTS, 24.04 LTS, and 22.04 LTS. Plex now publishes current Debian and Ubuntu packages from
https://repo.plex.tv/deb/; olderdownloads.plex.tvsources still expose 1.42.x packages but do not track the current 1.43.x branch. This is Plex’s vendor APT repository, not an Ubuntu PPA.
Refresh Ubuntu Packages for Plex
Start with a package metadata refresh so APT sees the latest dependency and security updates before you add the Plex repository:
sudo apt update && sudo apt upgrade -yThese commands use
sudofor system-wide changes. If your account does not have sudo access yet, follow our guide to add a new user to sudoers on Ubuntu before continuing.
The -y flag automatically accepts the upgrade prompt. If Ubuntu installs a new kernel during this step, reboot before you move on so Plex starts against the updated system libraries.
Add the Current Plex Repository on Ubuntu
Plex ships its own repository and signing key. Plex’s repository updating instructions include an automatic setup script and a manual setup path; the steps below use the manual DEB822 form so the source file and keyring stay easy to inspect. Install the tools needed to fetch that key first, because minimal Ubuntu Server images do not always include them:
sudo apt install curl gpg ca-certificates -yThe curl command downloads Plex’s ASCII-armored signing key, while gpg --dearmor converts it into the binary format APT expects for a dedicated keyring:
curl -fsSL https://downloads.plex.tv/plex-keys/PlexSign.v2.key | sudo gpg --dearmor --yes -o /usr/share/keyrings/plexmediaserver.gpgThe --yes flag lets you rerun the command without an interactive overwrite prompt. Saving the key under /usr/share/keyrings/ keeps trust scoped to Plex instead of widening it across every repository on the system. Avoid older apt-key add examples for Plex; a dedicated keyring plus Signed-By keeps the repository trust boundary clearer.
Create the repository file in DEB822 format next. This uses sudo tee because shell redirection with > does not inherit sudo privileges on its own:
printf '%s\n' \
  'Types: deb' \
  'URIs: https://repo.plex.tv/deb/' \
  'Suites: public' \
  'Components: main' \
  "Architectures: $(dpkg --print-architecture)" \
  'Signed-By: /usr/share/keyrings/plexmediaserver.gpg' | sudo tee /etc/apt/sources.list.d/plexmediaserver.sources > /dev/null
The Architectures line records your system’s Debian architecture, which keeps APT focused on the package index it can actually install. Plex currently publishes Linux server packages for amd64, arm64, armhf, and i386; if apt-cache policy shows no candidate later, confirm the host architecture before troubleshooting the repository itself. The Signed-By field ties this repo to the key you just installed.
Refresh APT after writing the file:
sudo apt updateAPT should finish without signature or repository errors. In the wider refresh output, look for a fetched https://repo.plex.tv/deb public InRelease line, then use the package candidate check below as the stronger source proof:
apt-cache policy plexmediaserverplexmediaserver:
Installed: (none)
Candidate: 1.43.1.10611-1e34174b1
Version table:
1.43.1.10611-1e34174b1 500
500 https://repo.plex.tv/deb public/main amd64 Packages
If apt-cache policy still points at downloads.plex.tv or shows a 1.42.x candidate, replace the legacy Plex source before continuing.
Install the Plex Media Server Package
After the repository is in place, install Plex on Ubuntu with the package name Plex actually ships for Debian-based systems:
sudo apt install plexmediaserver -yRelevant output includes the package version and the final Plex installer success line:
Selecting previously unselected package plexmediaserver.
Setting up plexmediaserver (1.43.1.10611-1e34174b1) ...
PlexMediaServer install: PlexMediaServer-1.43.1.10611-1e34174b1 - Installation successful.  Errors: 0, Warnings: 0
This package installs the background server daemon, not a standalone desktop player. Ubuntu creates a dedicated plex service account, enables the systemd unit automatically, stores the application under /usr/lib/plexmediaserver, keeps server data under /var/lib/plexmediaserver, and exposes Plex Web on TCP port 32400.
Verify the Plex Service and Web Endpoint
Check both the systemd unit and the local web endpoint before you open a browser. This confirms the service is enabled, running, and listening through Plex Web:
systemctl is-enabled plexmediaserver
systemctl is-active plexmediaserver
systemctl show -p FragmentPath --value plexmediaserver
curl -I http://127.0.0.1:32400/web
Relevant output includes an enabled service, an active process, and a Plex Web redirect:
enabled
active
/usr/lib/systemd/system/plexmediaserver.service

HTTP/1.1 302 Moved Temporarily
X-Plex-Protocol: 1.0
Ubuntu 22.04 can still show the service file under /lib/systemd/system/plexmediaserver.service, but the important signals are the same on every supported release: the service is enabled, it is active, and the local web endpoint responds with a redirect to the setup page. The Location header should point at http://127.0.0.1:32400/web/index.html#!/setup/ followed by a generated setup token. If a brand-new install briefly returns HTTP/1.1 503 Service Unavailable, wait a few seconds and rerun the curl check before changing firewall or proxy settings.
Access Plex Web Setup on Ubuntu
If Plex is installed on your Ubuntu desktop, open a browser on that machine and go to http://127.0.0.1:32400/web. On Ubuntu Server or any other headless install, the easiest first-run workflow is an SSH tunnel that forwards the local Plex port to your workstation.
Create an SSH Tunnel for Headless Plex Setup
Create an SSH tunnel for Plex setup with this command, then keep that terminal session open while you finish the web wizard in your browser:
ssh -L 8888:127.0.0.1:32400 username@SERVER_IPThe -L 8888:127.0.0.1:32400 mapping tells SSH to listen on port 8888 on your local workstation and forward that traffic to Plex on the remote Ubuntu server. Replace username and SERVER_IP with your own values, then browse to http://127.0.0.1:8888/web. If SSH is not installed yet, follow our guide to install SSH on Ubuntu first.
If your SSH daemon uses a non-standard port, add -p with that port number:
ssh -p 2222 -L 8888:127.0.0.1:32400 username@SERVER_IPSign In and Name the Plex Server on Ubuntu
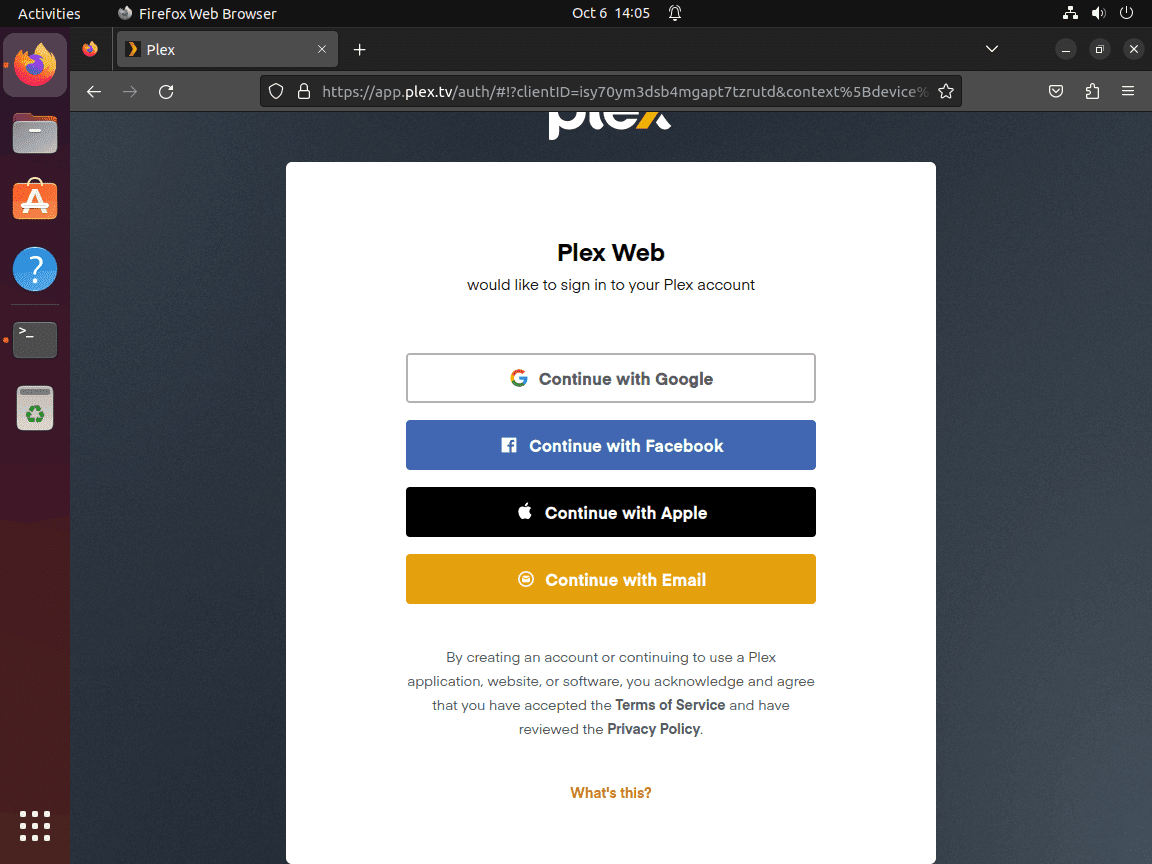
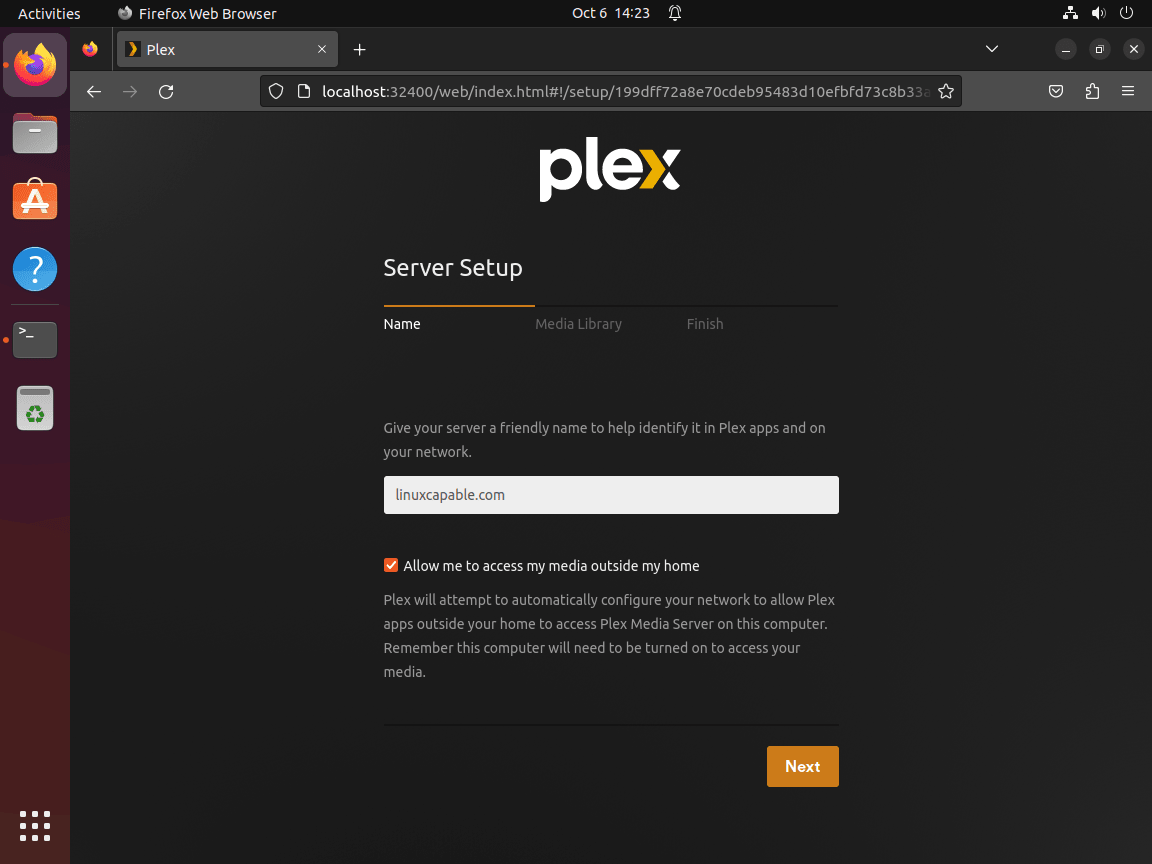
Once the setup page loads, sign in with your Plex account and move through the welcome screens until Plex asks for a server name. Keep the wording flexible here, because Plex refreshes its first-run copy more often than the server package changes.
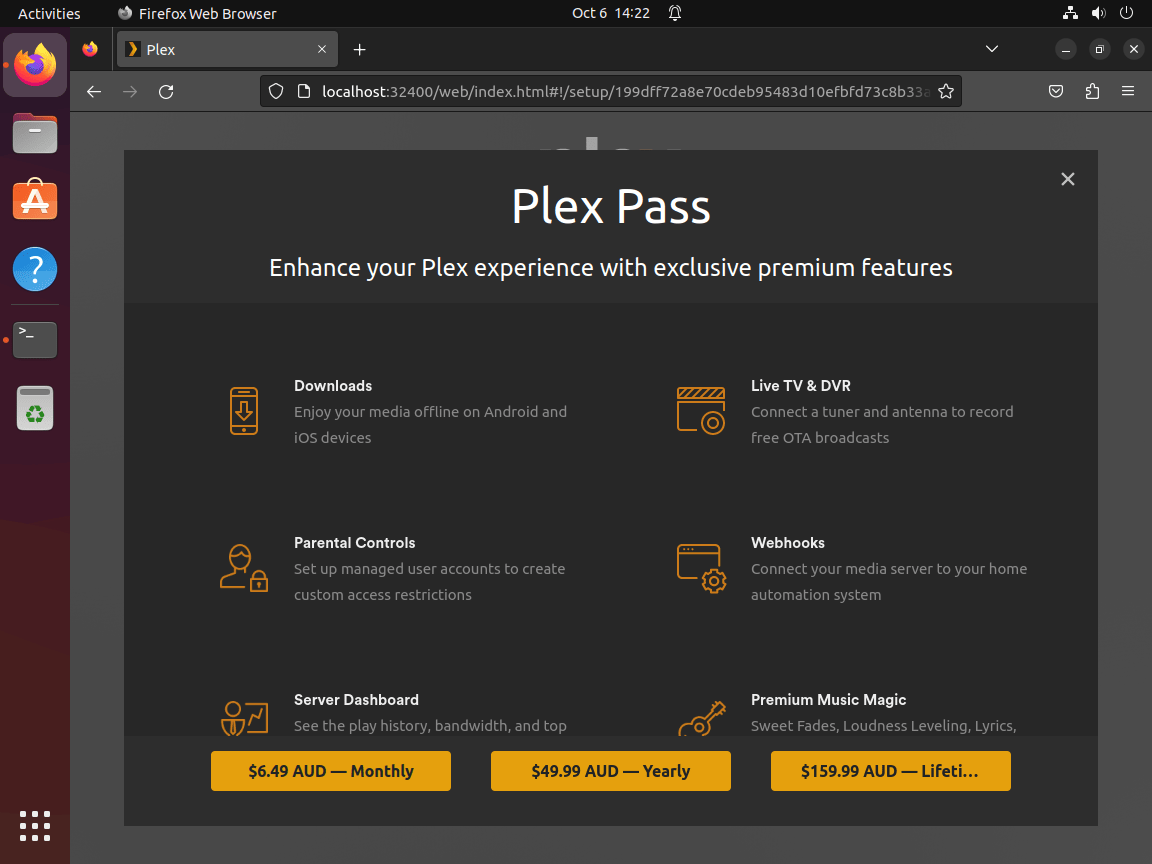
Plex also advertises Plex Pass during this workflow. You can skip that upsell and come back later if you decide you need hardware transcoding, intro detection, mobile sync, or other premium features.
Choose a server name that makes sense on your network, then decide whether to leave remote access enabled. Leaving it on lets Plex broker outside connections through its own service, while disabling it is better if you plan to use only local playback, a VPN, or your own reverse proxy.
Add Plex Libraries or Skip Them for Now
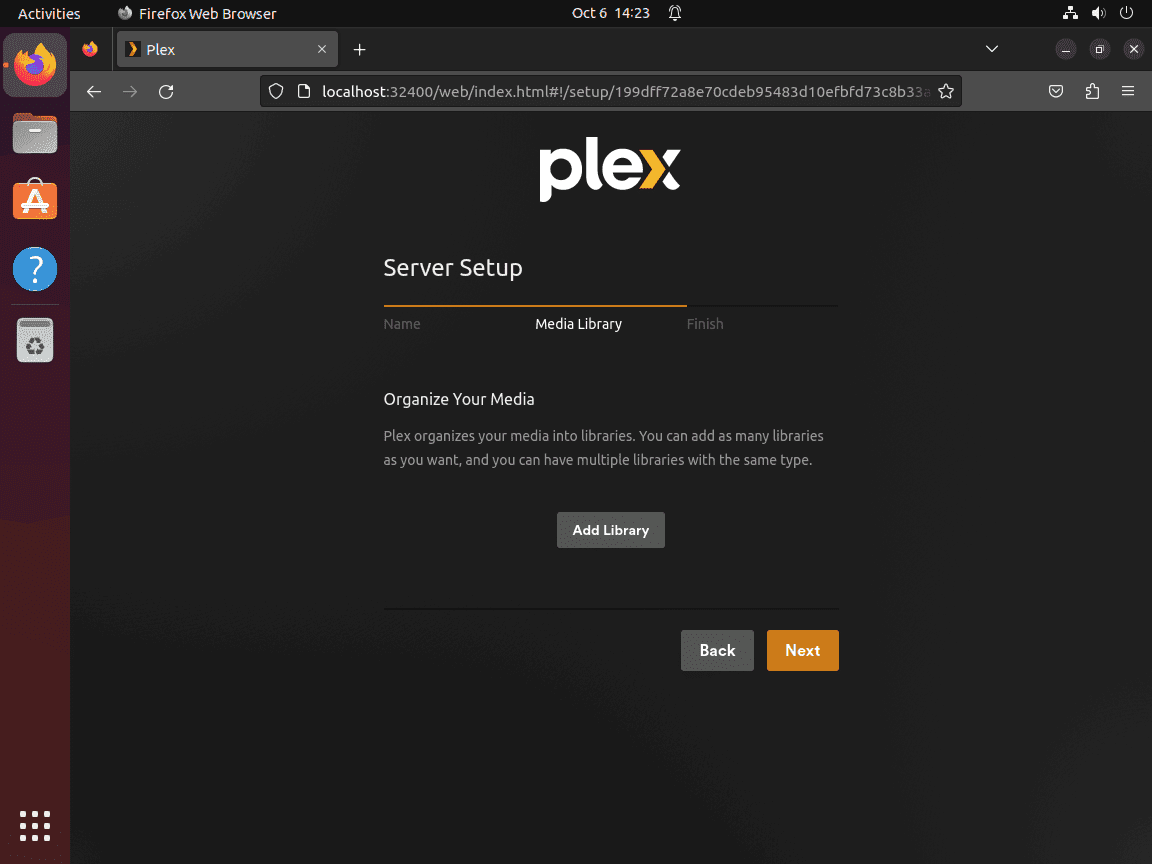
You can attach media folders during the wizard or skip them until your disks, mounts, or network shares are ready. Plex is happiest when your media is already organized before the first scan.
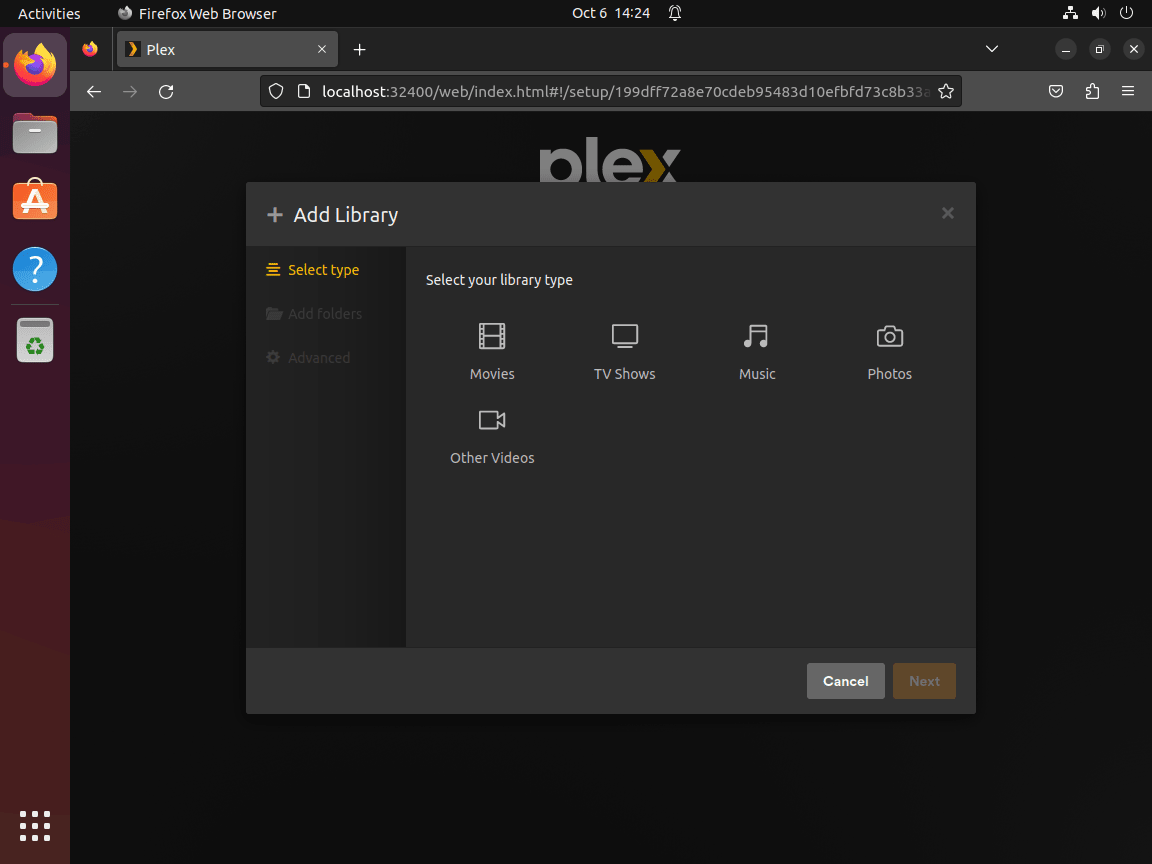
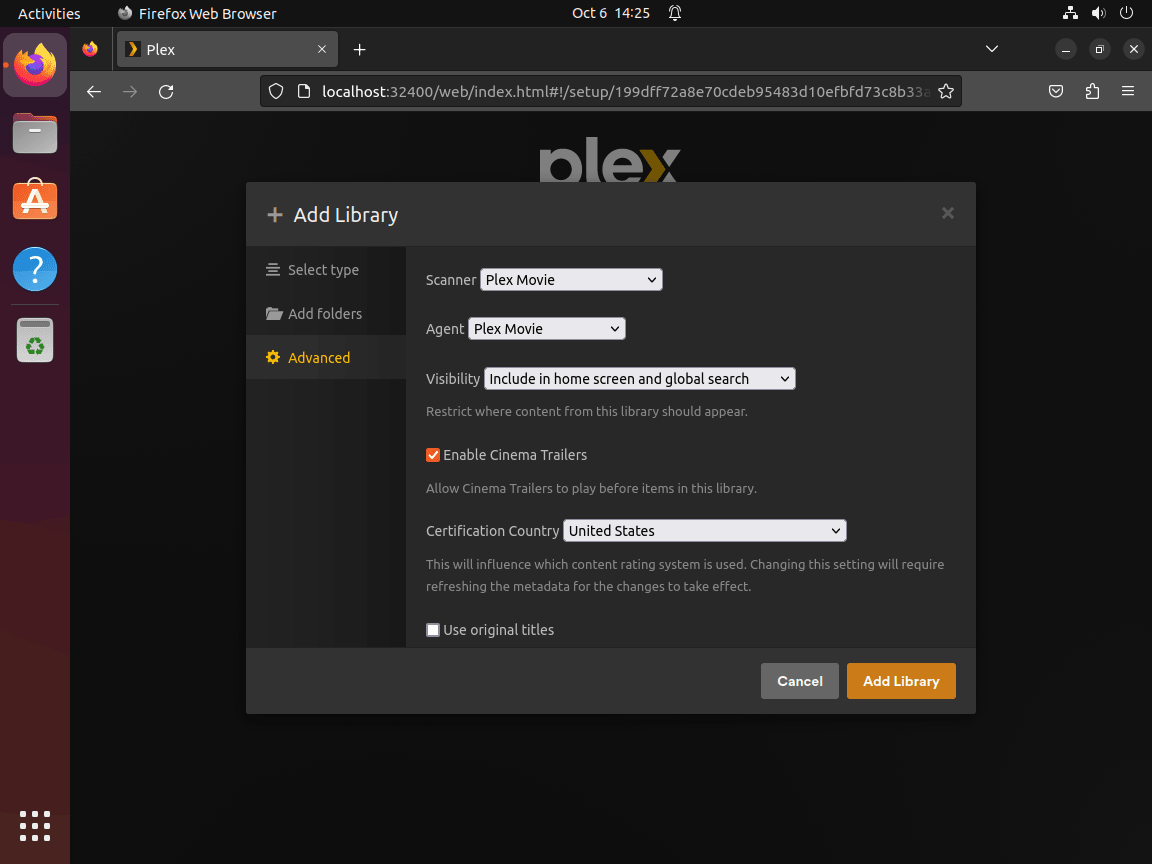
Choose the right library type first so Plex applies the correct metadata agent, poster lookup, and episode matching rules:
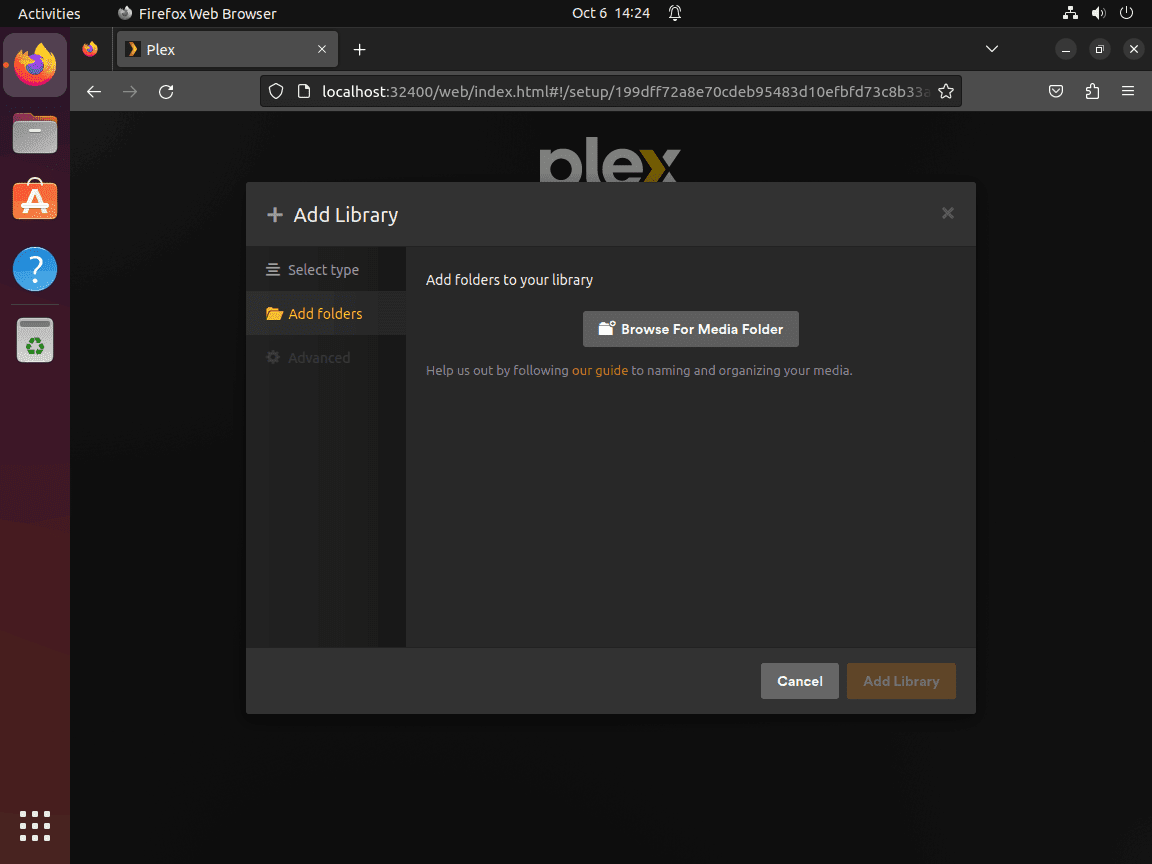
Point Plex at the directories that actually contain your media files. You can attach more than one path to a single library if your collection lives across multiple mount points.
Skip the library step if your disks are not mounted yet or if you still need to fix permissions. You can always return to Settings > Manage > Libraries later.
Advanced library options control preferred metadata language, scanner behavior, and background tasks. Leave the defaults in place if you want the fastest first import, then tune them later once the server is stable.
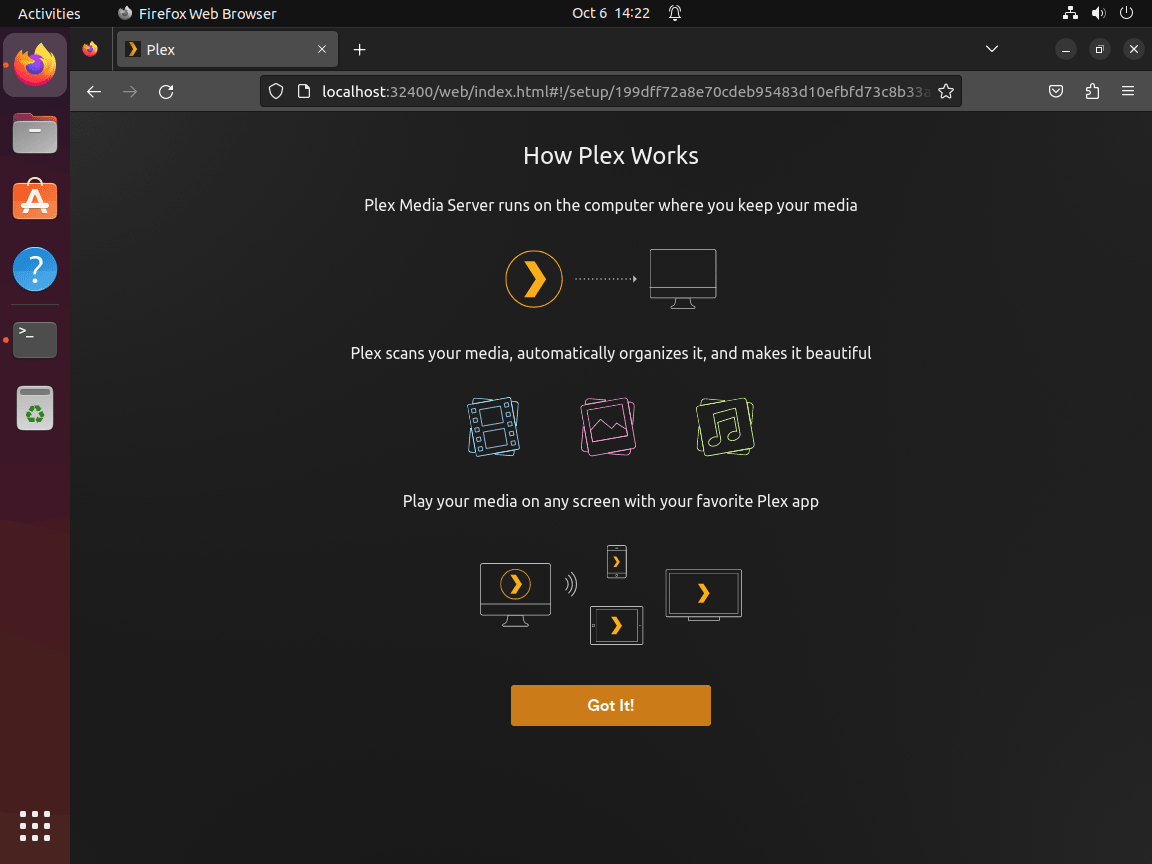
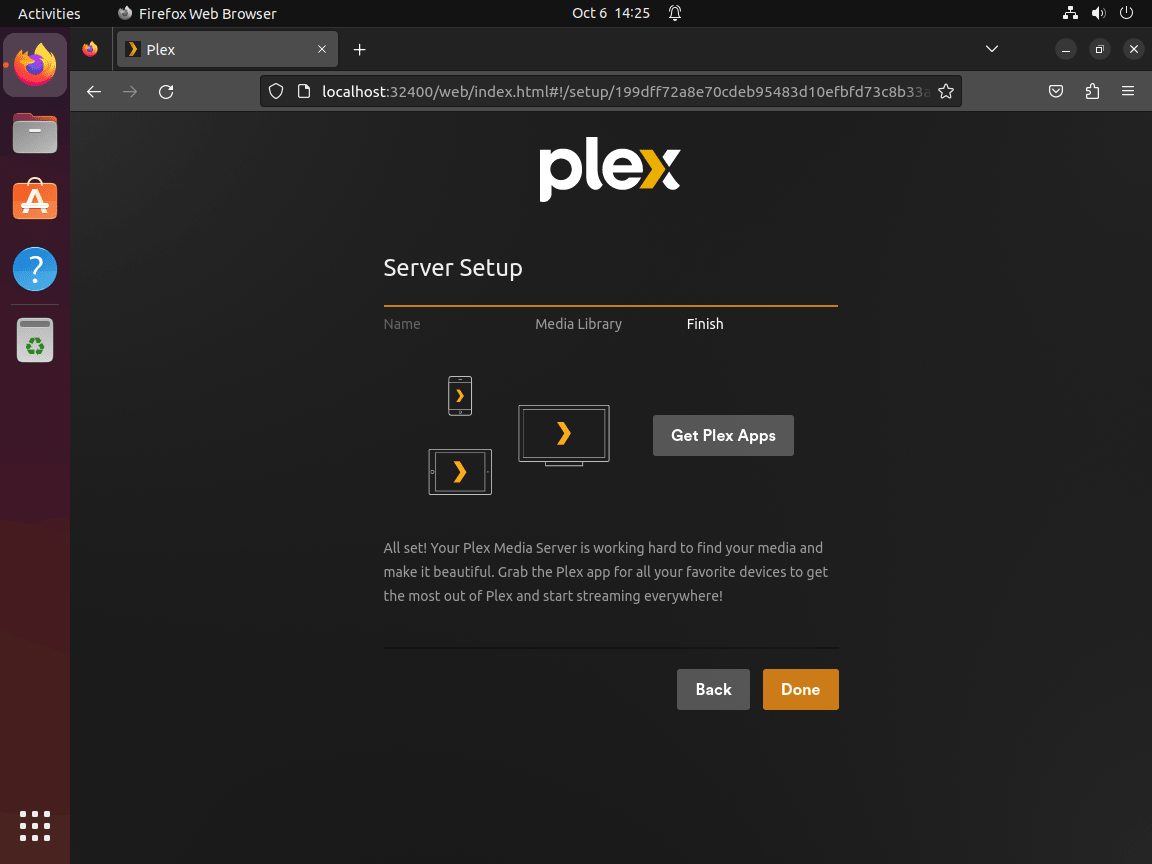
Finish the Plex Setup Wizard on Ubuntu
Once Plex finishes the wizard, it drops you at the dashboard and begins scanning any libraries you already attached. That confirms the web setup is complete and the server is ready for normal use.
Configure Plex Media Access on Ubuntu
Plex runs as its own plex system account, so it can only read files and directories that user can traverse. If your media lives on another disk, a NAS mount, or directories owned by another account, fix access before you blame the library scanner.
Grant Plex Read Access with ACLs on Ubuntu
ACLs are the safest default because they give Plex read access without changing the main owner of the files:
sudo apt install acl -y
sudo setfacl -R -m u:plex:rx /media/yourfolder
sudo setfacl -d -m u:plex:rx /media/yourfolder
The recursive rule fixes existing files and directories, while the default ACL keeps new files readable by Plex later. Verify the result from Plex’s point of view and confirm the default entry exists:
sudo -u plex sh -c 'test -r /media/yourfolder && test -x /media/yourfolder' && echo 'plex can read and enter media folder'
getfacl /media/yourfolder
plex can read and enter media folder # file: media/yourfolder # owner: root # group: root user::rwx user:plex:r-x group::r-x mask::r-x other::--- default:user::rwx default:user:plex:r-x
Change Ownership to the Plex User on Ubuntu
If Plex is the only service that needs those files, you can hand the directory tree to the plex user instead:
sudo chown -R plex:plex /media/yourfolder
sudo systemctl restart plexmediaserver
This is simpler, but it is also more disruptive if other users or services still write to the same location. When you need shared write access, stick with ACLs or pair the ownership change with careful group permissions through our chmod command guide.
Remote Access Options for Plex on Ubuntu
Plex can stream on your local network immediately after setup, but remote access needs a deliberate network decision. The simplest path is Plex’s built-in remote access on port 32400. If you want your own domain and HTTPS endpoint, add Nginx in front of Plex instead.
Open the Plex Port in UFW on Ubuntu
If your Ubuntu system uses UFW, allow SSH first and then open Plex’s service port. For a broader firewall walkthrough, see our guide to configure UFW on Ubuntu.
Always allow SSH before you enable UFW on a remote system. Blocking your own SSH access is the fastest way to turn a working Plex server into a console-recovery job.
sudo ufw allow OpenSSH
sudo ufw allow 32400/tcp
sudo ufw enable
sudo ufw status numbered
Status: active To Action From [ 1] OpenSSH ALLOW IN Anywhere [ 2] 32400/tcp ALLOW IN Anywhere
Use Nginx and Let’s Encrypt for Plex on Ubuntu
If you want a custom domain and HTTPS, proxy Plex through Nginx and terminate TLS there. Start with our guides to install Nginx on Ubuntu and secure Nginx with Let’s Encrypt on Ubuntu, then point the proxy upstream at Plex:
location / {
    proxy_http_version 1.1;
    proxy_set_header Host $host;
    proxy_set_header X-Real-IP $remote_addr;
    proxy_set_header X-Forwarded-For $proxy_add_x_forwarded_for;
    proxy_set_header X-Forwarded-Proto $scheme;
    proxy_set_header Upgrade $http_upgrade;
    proxy_set_header Connection "upgrade";
    proxy_pass http://127.0.0.1:32400;
    proxy_read_timeout 3600;
}
That layout keeps Plex bound locally while Nginx handles the public-facing host, the TLS certificate, and the longer-lived WebSocket connections Plex relies on.
Manage Plex Media Server on Ubuntu
Start, Stop, and Restart Plex Media Server on Ubuntu
Restart Plex Media Server on Ubuntu with sudo systemctl restart plexmediaserver. The full service control set is small, and these commands cover the common maintenance cases:
sudo systemctl start plexmediaserver
sudo systemctl stop plexmediaserver
sudo systemctl restart plexmediaserver
sudo systemctl enable plexmediaserver
sudo systemctl disable plexmediaserver
Update Plex Media Server on Ubuntu
Plex updates arrive through the same repository you added earlier, so the refresh path stays simple. If you migrated from the old downloads.plex.tv source, switch the repo first, then run the normal package upgrade:
sudo apt update
sudo apt install --only-upgrade plexmediaserver -y
dpkg-query -W -f='${Version}\n' plexmediaserver
1.43.1.10611-1e34174b1
Your output will advance as Plex publishes newer builds to repo.plex.tv. Normal apt update and apt upgrade runs will see those packages, while unattended third-party repository updates should be allowed only after you review the policy in our guide to configure unattended upgrades on Ubuntu.
Remove Plex but Keep Your Library Data on Ubuntu
Use a standard package removal when you want Plex gone but still want to keep the metadata, watch history, and cached artwork under /var/lib/plexmediaserver for a later reinstall:
sudo apt remove plexmediaserverConfirm the package is no longer installed while the library data still exists:
dpkg -l plexmediaserver | grep '^ii' || echo 'not installed'
test -d /var/lib/plexmediaserver && echo 'exists' || echo 'missing'
not installed exists
If you want to clean packages that APT marks as no longer required, preview the list before removing anything. On reused servers, that preview can include packages unrelated to Plex:
sudo apt autoremove --dry-runRun the cleanup only if the preview lists packages you recognize and are ready to remove:
sudo apt autoremovePurge Plex, the Repository, and the Server Data on Ubuntu
When you want a full reset, purge the package and then remove the Plex repository and keyring so APT no longer tracks it.
This reset permanently deletes the Plex metadata database, artwork cache, and service account after the purge completes. Back up
/var/lib/plexmediaserverfirst if you want to keep watch history, server settings, or library metadata.
sudo apt purge plexmediaserver
sudo rm -f /etc/apt/sources.list.d/plexmediaserver.sources
sudo rm -f /usr/share/keyrings/plexmediaserver.gpg
sudo apt update
Verify the data directory is gone, the plex account was removed, and APT no longer sees package metadata for Plex:
test -d /var/lib/plexmediaserver && echo 'exists' || echo 'missing'
id plex || echo 'plex-user-missing'
apt-cache show plexmediaserver > /dev/null 2>&1 && echo 'candidate-present' || echo 'candidate-removed'
missing plex-user-missing candidate-removed
Troubleshoot Plex Media Server on Ubuntu
Fix a Plex Web Interface That Will Not Load on Ubuntu
If the browser never reaches Plex, check the service, the listener, and the local redirect first. These three commands tell you whether Plex is actually up before you start changing firewall or DNS settings:
systemctl is-active plexmediaserver
sudo ss -H -lnt sport = :32400
curl -I http://127.0.0.1:32400/web
Relevant output includes an active service, a listener on port 32400, and the Plex Web redirect:
active

LISTEN 0      1024               *:32400            *:*

HTTP/1.1 302 Moved Temporarily
X-Plex-Protocol: 1.0
If the service is not running, inspect sudo journalctl -u plexmediaserver -n 50 next. If the listener is missing, Plex itself is not healthy yet, so fix that before you spend time on UFW, router rules, or a reverse proxy. If the listener exists but curl returns a temporary 503 Service Unavailable immediately after install, wait a few seconds and retry before restarting the service. A healthy setup redirect should include a Location header that starts with http://127.0.0.1:32400/web/index.html#!/setup/.
Fix Plex Library Permission Errors on Ubuntu
When Plex sees the server but not the files, test directory access as the plex user directly. A permission error here confirms the problem immediately:
sudo -u plex ls -la /media/yourfolderls: cannot access '/media/yourfolder': Permission denied
Apply an ACL and test again:
sudo setfacl -R -m u:plex:rx /media/yourfolder
sudo setfacl -d -m u:plex:rx /media/yourfolder
sudo -u plex sh -c 'test -r /media/yourfolder && test -x /media/yourfolder' && echo 'plex can read and enter media folder'
plex can read and enter media folder
If this works, Plex can now traverse the directory and the next library scan should pick the files up. If it still fails, recheck the parent mount point as well as the library folder itself.
Replace the Legacy Plex Repository and GPG Key on Ubuntu
If apt update still mentions downloads.plex.tv or apt-cache policy shows Plex 1.42.x, the machine is using the old repository. Remove the stale source and switch to the current one:
sudo rm -f /etc/apt/sources.list.d/plex*.list /etc/apt/sources.list.d/plex*.sources
sudo rm -f /usr/share/keyrings/plex.gpg /usr/share/keyrings/plexmediaserver.gpg
curl -fsSL https://downloads.plex.tv/plex-keys/PlexSign.v2.key | sudo gpg --dearmor --yes -o /usr/share/keyrings/plexmediaserver.gpg
printf '%s\n' \
  'Types: deb' \
  'URIs: https://repo.plex.tv/deb/' \
  'Suites: public' \
  'Components: main' \
  "Architectures: $(dpkg --print-architecture)" \
  'Signed-By: /usr/share/keyrings/plexmediaserver.gpg' | sudo tee /etc/apt/sources.list.d/plexmediaserver.sources > /dev/null
sudo apt update
apt-cache policy plexmediaserver
plexmediaserver:
Installed: 1.42.2.10156-f737b826c
Candidate: 1.43.1.10611-1e34174b1
Version table:
1.43.1.10611-1e34174b1 500
500 https://repo.plex.tv/deb public/main amd64 Packages
*** 1.42.2.10156-f737b826c 100
100 /var/lib/dpkg/status
That output means Ubuntu can now see the newer Plex package and is ready for sudo apt install --only-upgrade plexmediaserver -y.
Fix Plex Remote Access That Stays Offline on Ubuntu
If Plex says remote access is unavailable, confirm the service is still listening locally and that UFW is not blocking the public port:
sudo ss -H -lnt sport = :32400
sudo ufw status numbered
LISTEN 0 1024 *:32400 *:* Status: active To Action From [ 1] OpenSSH ALLOW IN Anywhere [ 2] 32400/tcp ALLOW IN Anywhere
If both checks look right, the remaining issue is usually outside Ubuntu: missing router port forwarding, carrier-grade NAT from the ISP, or a reverse proxy that is not passing traffic back to 127.0.0.1:32400.
First-Time Plex Tips on Ubuntu
Organize Plex Libraries for Better Matches on Ubuntu
Plex metadata matching is only as good as the folder names and filenames you feed it. A predictable structure saves cleanup work later:
- Movies:
/media/movies/Movie Name (Year)/Movie Name (Year).mkv - TV Shows:
/media/tv/Show Name/Season 01/Show Name - S01E01.mkv - Music:
/media/music/Artist Name/Album Name/01 - Track Name.mp3
The year in movie folder names helps Plex separate remakes and identically titled films. TV libraries depend even more heavily on the show, season, and episode structure, so keep that hierarchy consistent before the first scan.
Reduce Plex Transcoding Load on Ubuntu
Transcoding is where smaller Ubuntu boxes start to struggle. These three changes usually make the biggest difference first:
- Prefer direct play when you can. Streaming the original file avoids the CPU cost of on-the-fly video conversion.
- Use fast storage for temporary transcode files. SSD-backed temporary storage reduces stutter when multiple clients stream at once.
- Enable hardware transcoding if your Plex Pass plan and hardware support it. Intel Quick Sync, AMD VCN, and NVIDIA NVENC all move work away from the CPU when the rest of the stack is ready.
If you enable hardware acceleration, make sure the Ubuntu host also has the right graphics drivers installed. Plex Pass is still required for most hardware transcoding features even when the underlying GPU support is already present.
Conclusion
Plex Media Server is running on Ubuntu from Plex’s current APT repository, with Plex Web reachable locally or through an SSH tunnel and the service ready to scan your libraries. Before opening remote access, configure UFW on Ubuntu and review unattended upgrades on Ubuntu before allowing any third-party repository to update automatically.

I’ve been trying to install Plex for 3 days before finding this amazing resource.
Worked 1st time.
THANK YOU THANK YOU THANK YOU
curl https://downloads.plex.tv/plex-keys/PlexSign.key | gpg --dearmor | sudo tee /usr/share/keyrings/plexserver.gpg > /dev/null
Seems to work…
Does not work on Ubuntu 22.04 minimized
curl -fsSL https://downloads.plex.tv/plex-keys/PlexSign.key | sudo gpg --dearmor | sudo tee /usr/share/keyrings/plex.gpg
That command fails… Displays junk on the screen.
Hi Earl, thanks for pointing that out! You’re absolutely right. On Ubuntu 22.04, some essential packages like
gpgandca-certificatesaren’t installed by default, which can break the command.The fix is simple: just install those missing packages first:
sudo apt install gpg ca-certificates -yThen, instead of the original command, try this:
curl -fsSL https://downloads.plex.tv/plex-keys/PlexSign.key | gpg --dearmor | sudo tee /usr/share/keyrings/plex.gpg > /dev/nullThis avoids potential issues if
gpgisn’t available yet.If anyone runs into permission issues, an alternative method is to store the key in
/etc/apt/trusted.gpg.d/:curl -fsSL https://downloads.plex.tv/plex-keys/PlexSign.key | gpg --dearmor | sudo tee /etc/apt/trusted.gpg.d/plex.gpg > /dev/nullBoth methods work fine, but Ubuntu’s preferred approach is to use
/usr/share/keyrings/in newer releases.Appreciate your feedback, it helps make the guide even better! Let me know if you run into any other issues. 🚀
Is this tutorial suitable for installing the 64-bit version?
I have not installed Plex Media Server on a 32-bit system before, but technically, it should if your architecture is supported. If it isn’t, then you will not be able to install it.
Just remove the source if it does not work, it will not take you long to test. Plex from memory does support 32bit.
Forget my previous answer as I misread your question. Yes, it is installable on a 64-bit system. Most of my guides are done on 64-bit architecture, as it is the main one used by many Linux users.