
Cursor on Ubuntu has two useful Linux entry points: the graphical desktop editor and the terminal-based Cursor Agent CLI. The desktop app is easiest to maintain through Anysphere’s APT repository, while the agent installs per user under ~/.local/ from Cursor’s official installer. Ubuntu 26.04 LTS, 24.04 LTS, and 22.04 LTS can use either path, or both, depending on whether you want the full editor, the shell agent, or a mixed workflow.
Cursor still publishes direct .deb, RPM, and AppImage downloads on the official Cursor download page. For routine Ubuntu desktop installs, the repository-backed cursor package keeps updates and removal visible to APT. For terminal use, the Cursor Agent installer creates the agent and cursor-agent commands in your home directory; the APT repository does not currently publish a standalone CLI package.
Install Cursor on Ubuntu
Choose Cursor Desktop or Cursor Agent CLI
Use the desktop package when you want Cursor as a graphical code editor. Use Cursor Agent when you want a terminal agent that can run from shell sessions, scripts, or headless workflows. The two installs do not replace each other.
| Cursor surface | Installs | Update owner | Best fit |
|---|---|---|---|
| Cursor desktop app | APT package named cursor | APT-managed updates from downloads.cursor.com/aptrepo | Graphical IDE sessions, project folders, extensions, and desktop launcher integration |
| Cursor Agent CLI | Per-user agent and cursor-agent symlinks under ~/.local/bin | agent update | Terminal-first agent sessions, read-only questions, scripted prompts, and remote shell workflows |
The Cursor desktop package can create its own APT source during installation. The desktop repository commands preconfigure that package prompt first, so the manual DEB822 source file remains the source of truth and keeps
Architectureslimited to your current Ubuntu architecture.
Prepare Ubuntu for Cursor Desktop Repository Setup
Refresh APT metadata before adding a new repository:
sudo apt updateThese commands use
sudofor system-wide package and repository changes. If your account cannot run administrative commands, follow the guide to add a user to sudoers on Ubuntu before continuing.
Install the tools used for the repository key download and keyring conversion:
sudo apt install curl gpg -yThe curl command downloads the key over HTTPS, and gpg converts the ASCII-armored key into the binary keyring file APT uses with Signed-By. For more download examples, see the curl command guide.
Import the Cursor Repository Signing Key
Download Anysphere’s repository signing key and store it under /usr/share/keyrings/:
curl -fsSL https://downloads.cursor.com/keys/anysphere.asc | sudo gpg --dearmor --yes -o /usr/share/keyrings/anysphere.gpgConfirm the saved key identity before using it in the source file:
gpg --quiet --show-keys --with-fingerprint /usr/share/keyrings/anysphere.gpgRelevant output includes the Anysphere UID and fingerprint:
pub   rsa4096 2025-07-10 [SC]
      380F F4BC DC34 A4BD 92A3  5653 42A1 772E 62E4 92D6
uid           Anysphere Inc <security@anysphere.co>
Add the Cursor APT Repository
Create a DEB822 source file for Cursor. The architecture guard writes the source only on amd64 or arm64, the two Debian-family architectures Cursor currently publishes for the stable desktop package:
arch="$(dpkg --print-architecture)"

if [ "$arch" = "amd64" ] || [ "$arch" = "arm64" ]; then
  printf '%s\n' \
    'Types: deb' \
    'URIs: https://downloads.cursor.com/aptrepo' \
    'Suites: stable' \
    'Components: main' \
    "Architectures: ${arch}" \
    'Signed-By: /usr/share/keyrings/anysphere.gpg' | sudo tee /etc/apt/sources.list.d/cursor.sources > /dev/null
else
  printf 'Cursor publishes APT packages for amd64 and arm64, not %s.\n' "$arch" >&2
fi
Review the file before refreshing APT. On a normal x86_64 Ubuntu system, the architecture line should show amd64; on ARM64 systems, it should show arm64 instead.
cat /etc/apt/sources.list.d/cursor.sourcesTypes: deb URIs: https://downloads.cursor.com/aptrepo Suites: stable Components: main Architectures: amd64 Signed-By: /usr/share/keyrings/anysphere.gpg
Keep Cursor from Rewriting the Source File
Preseed Cursor’s package prompt before installing the package. This prevents the maintainer script from replacing your manual DEB822 file with its own automatically generated source entry:
printf 'cursor cursor/add-cursor-repo boolean false\n' | sudo debconf-set-selectionsThis setting applies only to Cursor’s repository prompt. APT still uses the source file you created, and Cursor upgrades continue through the same repository.
Refresh APT and Verify Cursor Desktop Packages
Refresh APT so it reads the Cursor repository, then confirm the stable package candidate:
sudo apt update
apt-cache policy cursor
Relevant output includes a cursor candidate from downloads.cursor.com/aptrepo. The version changes as Cursor publishes new stable builds:
cursor:
  Installed: (none)
  Candidate: 3.4.20-1778815921
  Version table:
     3.4.20-1778815921 500
        500 https://downloads.cursor.com/aptrepo stable/main amd64 Packages
Install the Cursor Desktop Package with APT
Install the stable Cursor desktop package:
sudo apt install cursor -yVerify the installed package, terminal launcher, and application version:
dpkg-query -W -f='${db:Status-Abbrev} ${binary:Package} ${Version} ${Architecture}\n' cursor
command -v cursor
cursor --version
Example output from the current stable package:
ii  cursor 3.4.20-1778815921 amd64
/usr/bin/cursor
3.4.20
0cf8b06883f54e26bb4f0fb8647c9500ccb43310
x64
The package also installs the desktop launcher, the /usr/bin/cursor command symlink, the sandbox helper at /usr/share/cursor/resources/app/resources/helpers/cursorsandbox, and the package-owned AppArmor profile at /etc/apparmor.d/cursor-sandbox. The profile parses and loads cleanly on Ubuntu 26.04, 24.04, and 22.04, so normal desktop installs do not need manual AppArmor profile edits.
Install Cursor Agent CLI
The Cursor Agent CLI is separate from the desktop APT package. Cursor’s official installer downloads the current agent bundle, installs it under ~/.local/share/cursor-agent/versions/, and creates agent plus cursor-agent symlinks under ~/.local/bin.
Install curl if you skipped the desktop repository prerequisites:
sudo apt update
sudo apt install curl -y
Run the official Cursor Agent installer as your normal user, not with sudo:
curl -fsS https://cursor.com/install | bashA successful run installs a versioned agent bundle under ~/.local/share/cursor-agent/versions/, then creates the agent and cursor-agent symlinks in ~/.local/bin. The installer also prints shell-specific PATH commands when the current session cannot already find that directory.
Add Cursor Agent CLI to Your PATH
The installer creates symlinks in ~/.local/bin. Ubuntu Bash sessions often include that directory after a new login, but the current terminal may need a PATH refresh:
export PATH="$HOME/.local/bin:$PATH"For Bash, add the same PATH entry to ~/.bashrc when agent is not found after installation:
touch "$HOME/.bashrc"
grep -qxF 'export PATH="$HOME/.local/bin:$PATH"' "$HOME/.bashrc" || printf '%s\n' 'export PATH="$HOME/.local/bin:$PATH"' >> "$HOME/.bashrc"
export PATH="$HOME/.local/bin:$PATH"
Verify Cursor Agent CLI
Confirm both command names resolve from your shell:
command -v agent
command -v cursor-agent
Both paths should point into $HOME/.local/bin. Check the installed agent version next:
agent --version2026.05.16-0338208
A new unauthenticated install reports its login state with:
agent statusNot logged in
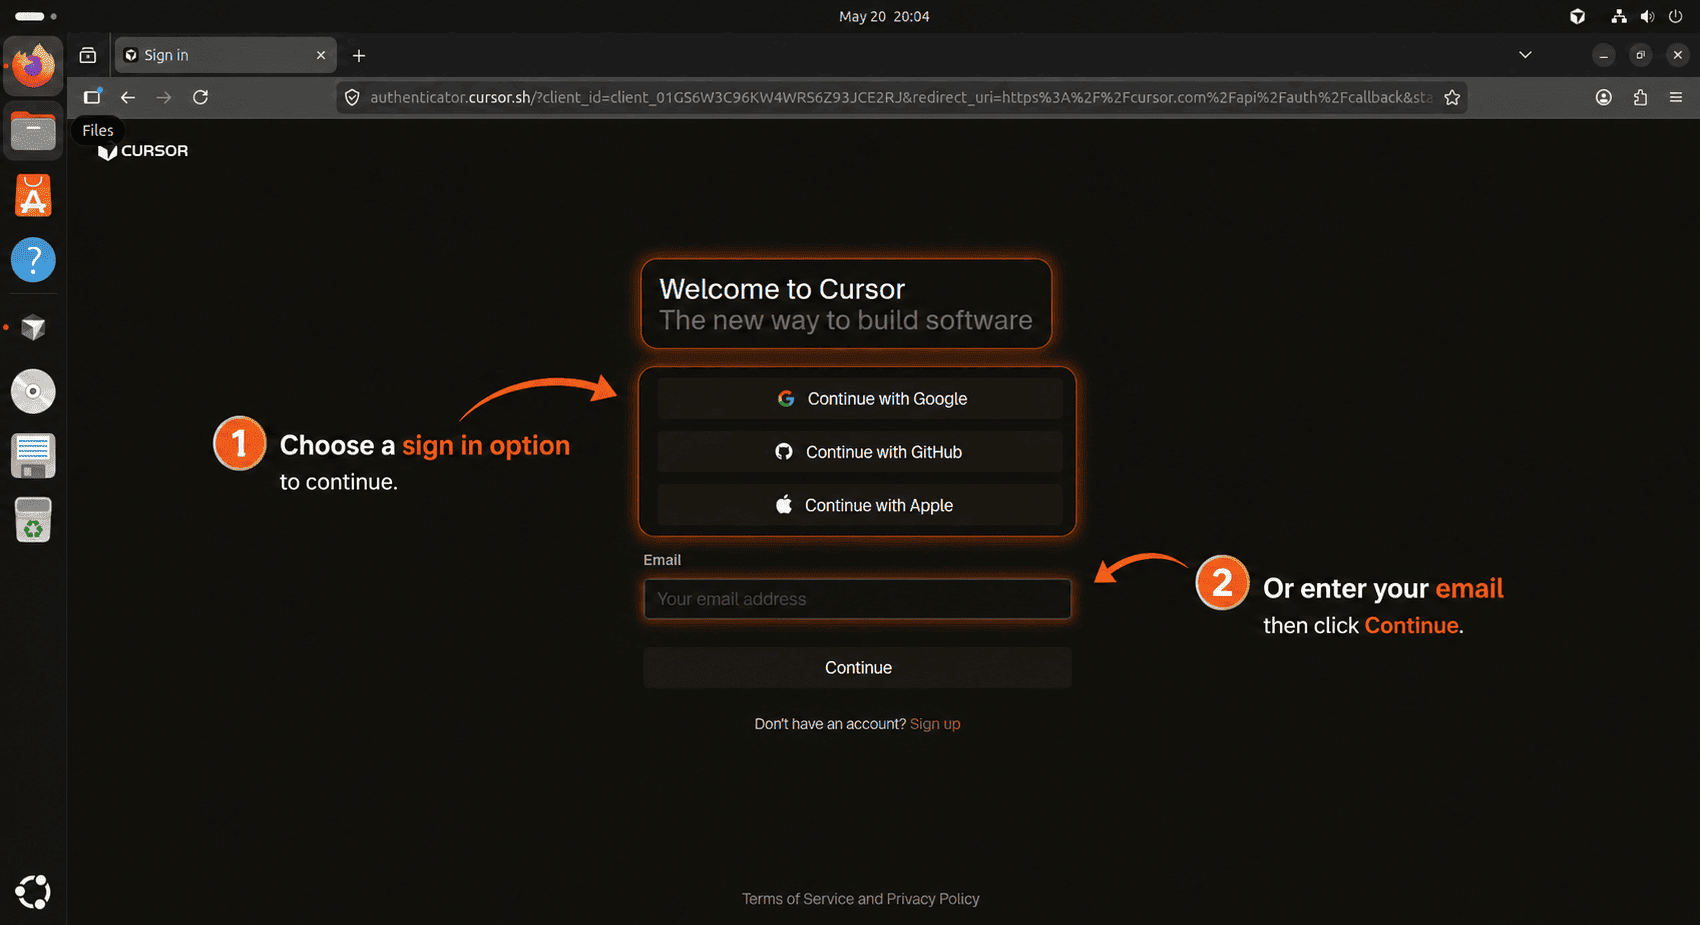
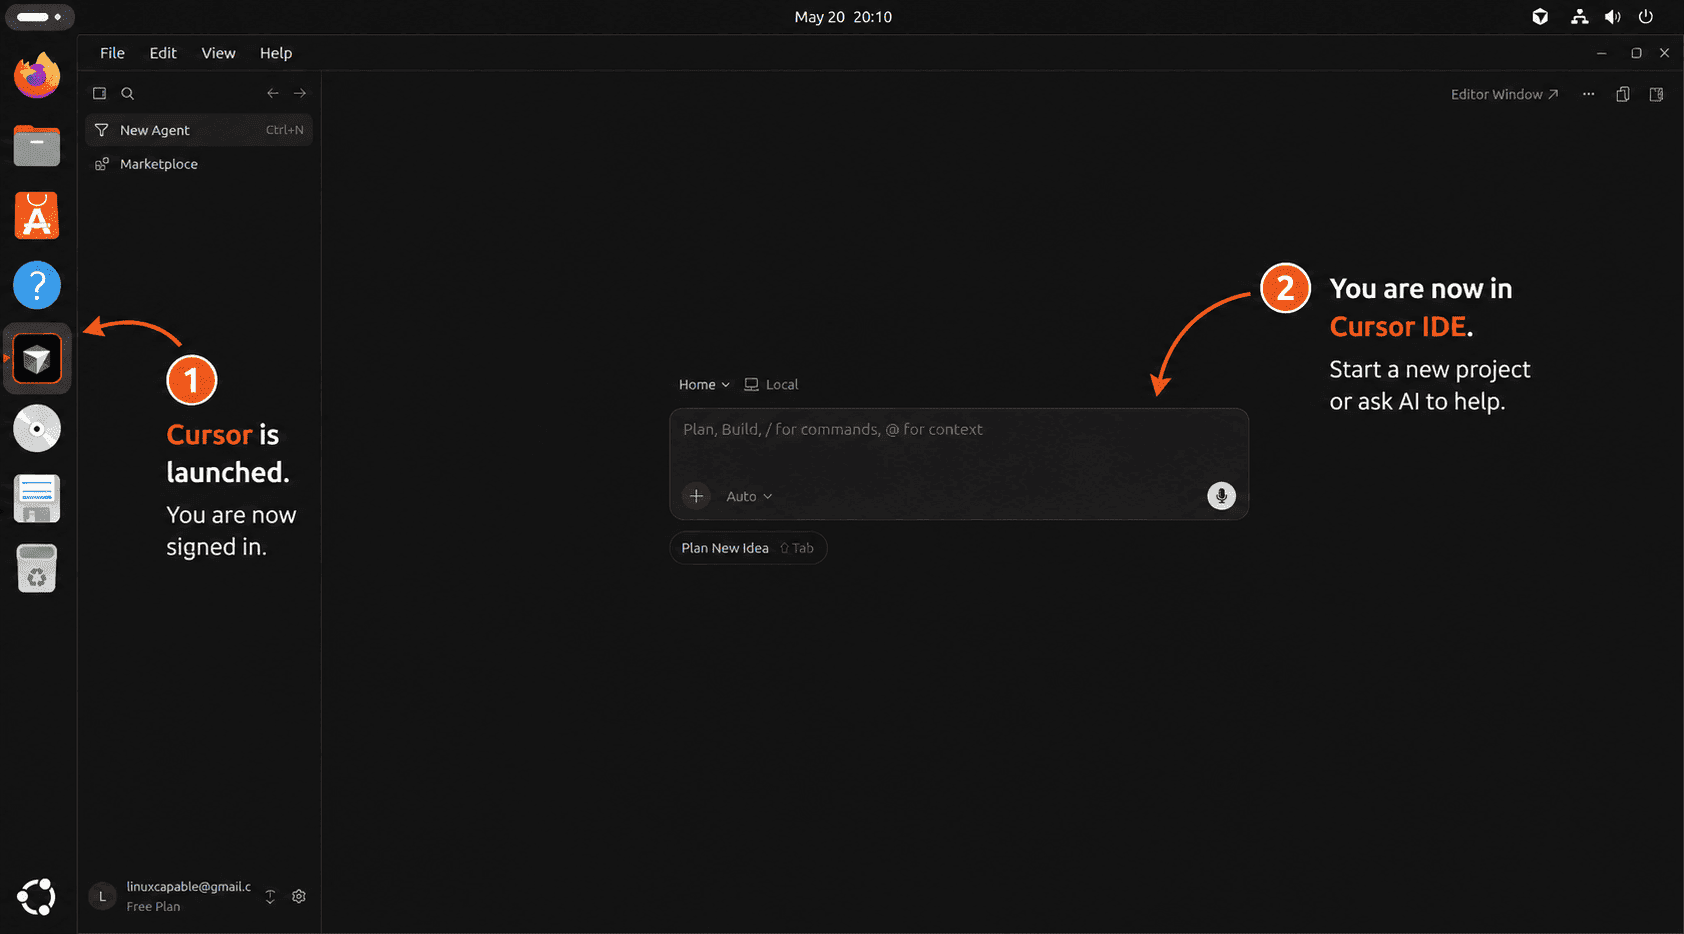
Launch Cursor on Ubuntu
Launch Cursor Desktop from Terminal
Start Cursor from a graphical Ubuntu session with:
cursorOpen a project directory directly by passing the path to the launcher:
cursor ~/projects/example-appRun Cursor as your normal desktop user, not with sudo. If a project needs privileged commands, open the integrated terminal in Cursor and run only those specific commands with elevated privileges.
Launch Cursor Desktop from the Applications Menu
Ubuntu also registers Cursor as a normal desktop application:
- Open Activities from the top-left corner of the desktop.
- Select Show Applications from the dock.
- Search for Cursor.
- Select the Cursor launcher to open the editor.
Start Cursor Agent from Terminal
Display the agent help text before starting an interactive session:
agent --helpStart an interactive agent session in the current directory with:
agentCursor Agent supports modes such as ask and plan for read-only work. After authentication, a read-only question can run from a project directory with:
agent --print --mode ask "Summarize this project layout"Use agent login to authenticate, agent logout to clear stored authentication, and the Cursor documentation for account and agent behavior that depends on your plan or workspace policy.
Set Up Development Tools After First Launch
Cursor can open a folder immediately, but real projects still depend on the toolchain in your Ubuntu environment. Install Git on Ubuntu before cloning repositories, and install Node.js on Ubuntu if your projects use JavaScript or TypeScript tooling.
Update Cursor on Ubuntu
Update Cursor Desktop with APT
APT owns updates for the desktop package as long as the Cursor repository remains enabled. Refresh package metadata, then upgrade only Cursor:
sudo apt update
sudo apt install --only-upgrade cursor
If the app announces a newer version before APT sees it, check the repository candidate first:
apt-cache policy cursorWait until the Candidate line shows the newer version before troubleshooting the package manager. Release notes on the Cursor changelog and package availability in the APT repository can appear at slightly different times.
Update Cursor Agent CLI
The per-user agent install is not updated by APT. Use the agent updater from the same user account that installed it:
agent updateCurrent no-op output looks like:
Checking for updates...
Already up to date
Remove Cursor from Ubuntu
Remove Cursor Desktop Package
Remove the Cursor desktop package first:
sudo apt purge cursorThen remove the Cursor APT source and repository prompt override created by the desktop method. The keyring check searches readable APT source files first and removes anysphere.gpg only when no remaining source references it:
sudo rm -f /etc/apt/sources.list.d/cursor.sources /etc/apt/sources.list.d/cursor.list

key_in_use=0
while IFS= read -r -d '' source_file; do
  if grep -q '/usr/share/keyrings/anysphere.gpg' "$source_file"; then
    key_in_use=1
    break
  fi
done < <(find /etc/apt/sources.list /etc/apt/sources.list.d -type f -print0 2>/dev/null)

if [ "$key_in_use" -eq 0 ]; then
  sudo rm -f /usr/share/keyrings/anysphere.gpg
fi

printf 'cursor cursor/add-cursor-repo boolean true\n' | sudo debconf-set-selections
sudo apt update
Confirm the package is no longer installed:
dpkg-query -W -f='${db:Status-Abbrev}\n' cursor 2>/dev/null | grep -q '^ii' && echo "Cursor is still installed" || echo "Cursor is not installed"Cursor is not installed
Remove Cursor Agent CLI
If you authenticated the agent, sign out before deleting the local command files:
agent logoutRemove Cursor-owned agent symlinks and the versioned install directory from your user account:
for link in "$HOME/.local/bin/agent" "$HOME/.local/bin/cursor-agent"; do
  if [ -L "$link" ]; then
    target="$(readlink "$link")"
    case "$target" in
      "$HOME"/.local/share/cursor-agent/versions/*/cursor-agent)
        rm -f "$link"
        ;;
      *)
        printf 'Keeping non-Cursor symlink: %s -> %s\n' "$link" "$target" >&2
        ;;
    esac
  elif [ -e "$link" ]; then
    printf 'Keeping non-Cursor file: %s\n' "$link" >&2
  fi
done

rm -rf "$HOME/.local/share/cursor-agent"
hash -r
command -v agent || echo "agent command removed"
agent command removed
Remove Cursor User Data
Package removal leaves per-user Cursor data outside APT. The package metadata names .cursor and .cursor-server, while Cursor Agent uses .local/share/cursor-agent. Print those paths before deleting anything:
for path in \
  "$HOME/.cursor" \
  "$HOME/.cursor-server" \
  "$HOME/.local/share/cursor-agent"
do
  [ -e "$path" ] && printf '%s\n' "$path"
done
The next command permanently deletes Cursor settings, remote-server data, and terminal-agent files for your user account. Back up anything you want to keep before running it.
Remove the printed paths only when you no longer need that account’s Cursor state:
rm -rf "$HOME/.cursor" "$HOME/.cursor-server" "$HOME/.local/share/cursor-agent"Troubleshoot Cursor Installation on Ubuntu
APT Cannot Locate the cursor Package
If sudo apt install cursor cannot locate the package, APT has not read the Cursor repository or the source file did not write correctly. Check the source file, refresh APT, and review the package candidate again:
cat /etc/apt/sources.list.d/cursor.sources
sudo apt update
apt-cache policy cursor
A working setup shows downloads.cursor.com/aptrepo stable/main in the policy output. If the candidate remains empty, confirm that the Signed-By path exists and that your system architecture is either amd64 or arm64.
Cursor Source File Uses Both amd64 and arm64
If /etc/apt/sources.list.d/cursor.sources changes to Architectures: amd64,arm64, the package script rewrote the file. Reapply the debconf setting and recreate the source file with your current architecture:
arch="$(dpkg --print-architecture)"
case "$arch" in
  amd64|arm64)
    printf 'cursor cursor/add-cursor-repo boolean false\n' | sudo debconf-set-selections
    printf '%s\n' \
      'Types: deb' \
      'URIs: https://downloads.cursor.com/aptrepo' \
      'Suites: stable' \
      'Components: main' \
      "Architectures: ${arch}" \
      'Signed-By: /usr/share/keyrings/anysphere.gpg' | sudo tee /etc/apt/sources.list.d/cursor.sources > /dev/null
    sudo rm -f /etc/apt/sources.list.d/cursor.list
    sudo apt update
    ;;
  *)
    printf 'Cursor publishes APT packages for amd64 and arm64, not %s.\n' "$arch" >&2
    ;;
esac
This keeps APT from requesting package indexes for an architecture the machine does not use, which also makes repository errors easier to diagnose.
Cursor Agent Command Is Not Found
If agent or cursor-agent is not found after the installer succeeds, check whether ~/.local/bin is active in the current shell:
printf '%s\n' "$PATH" | tr ':' '\n' | grep -Fx "$HOME/.local/bin"No output means the directory is missing from the current PATH. Export it for the current terminal, then add the Bash startup line from the PATH section so new terminals can find the agent.
Cursor Agent Reports Not Logged In
agent status returns Not logged in until the CLI has valid Cursor authentication. Use the login command from the same user account that installed the agent:
agent login
agent status
If the host cannot open a browser, run NO_OPEN_BROWSER=1 agent login and follow the terminal instructions. Avoid putting API keys directly in shell history; use a short-lived environment variable only for the command that needs it.
Cursor Shows AppArmor or Sandbox Errors
Cursor is an Electron-based desktop app, so sandbox errors can involve the helper binary, AppArmor, user namespace restrictions, or a broken desktop session. Start with the package-owned profile instead of disabling AppArmor globally:
sudo apparmor_parser -Q -T -K /etc/apparmor.d/cursor-sandbox
sudo aa-status | grep -i cursor
sysctl -n kernel.apparmor_restrict_unprivileged_userns
A normal desktop install loads these Cursor profiles:
cursor_sandbox
cursor_sandbox_agent_cli
cursor_sandbox_remote
Check fresh kernel messages only when Cursor still fails with a sandbox or permission error:
sudo journalctl -k --no-pager | grep -Ei 'apparmor=.*(cursor|cursorsandbox)|cursor.*apparmor' | tail -n 20Ubuntu 26.04 and 24.04 commonly report 1 for kernel.apparmor_restrict_unprivileged_userns, while Ubuntu 22.04 commonly reports 0. Do not add generic userns profile snippets, run Cursor with --no-sandbox, or disable AppArmor unless a fresh denial identifies the exact Cursor profile and path involved. For broader profile management, see the AppArmor guide for Ubuntu.
The Cursor repository also publishes cursor-sandbox-apparmor, an enterprise-oriented package for remote or agent sandbox helper deployments. The normal desktop package already ships and loads /etc/apparmor.d/cursor-sandbox, so install the separate AppArmor package only when Cursor or your organization documents that requirement for your deployment.
Direct DEB Download vs Repository Install
The direct Linux .deb links on Cursor’s download page are useful for a one-off graphical install or recovery download. For routine Ubuntu systems, the repository method is easier to audit because the signing key, source file, package candidate, update path, and cleanup path are all explicit. If you intentionally downloaded the local installer instead, the guide to install and remove DEB files on Ubuntu explains the local package workflow.
Cursor Does Not Launch from a Root Shell
The cursor wrapper refuses normal root launches unless you pass a separate user data directory. Open Cursor as your regular desktop user instead, then run privileged commands only where your project actually needs them.
Conclusion
Cursor is ready on Ubuntu when the desktop package resolves through Anysphere’s APT repository and the optional agent resolves from ~/.local/bin. Keep the desktop app on APT-managed updates, update the terminal agent with agent update, and keep AppArmor enabled unless a specific Cursor denial proves a narrower profile issue.

Formatting tips for your comment
You can use basic HTML to format your comment. Useful tags currently allowed in published comments:
<code>command</code>command<strong>bold</strong><em>italic</em><a href="https://example.com">link</a><blockquote>quote</blockquote>