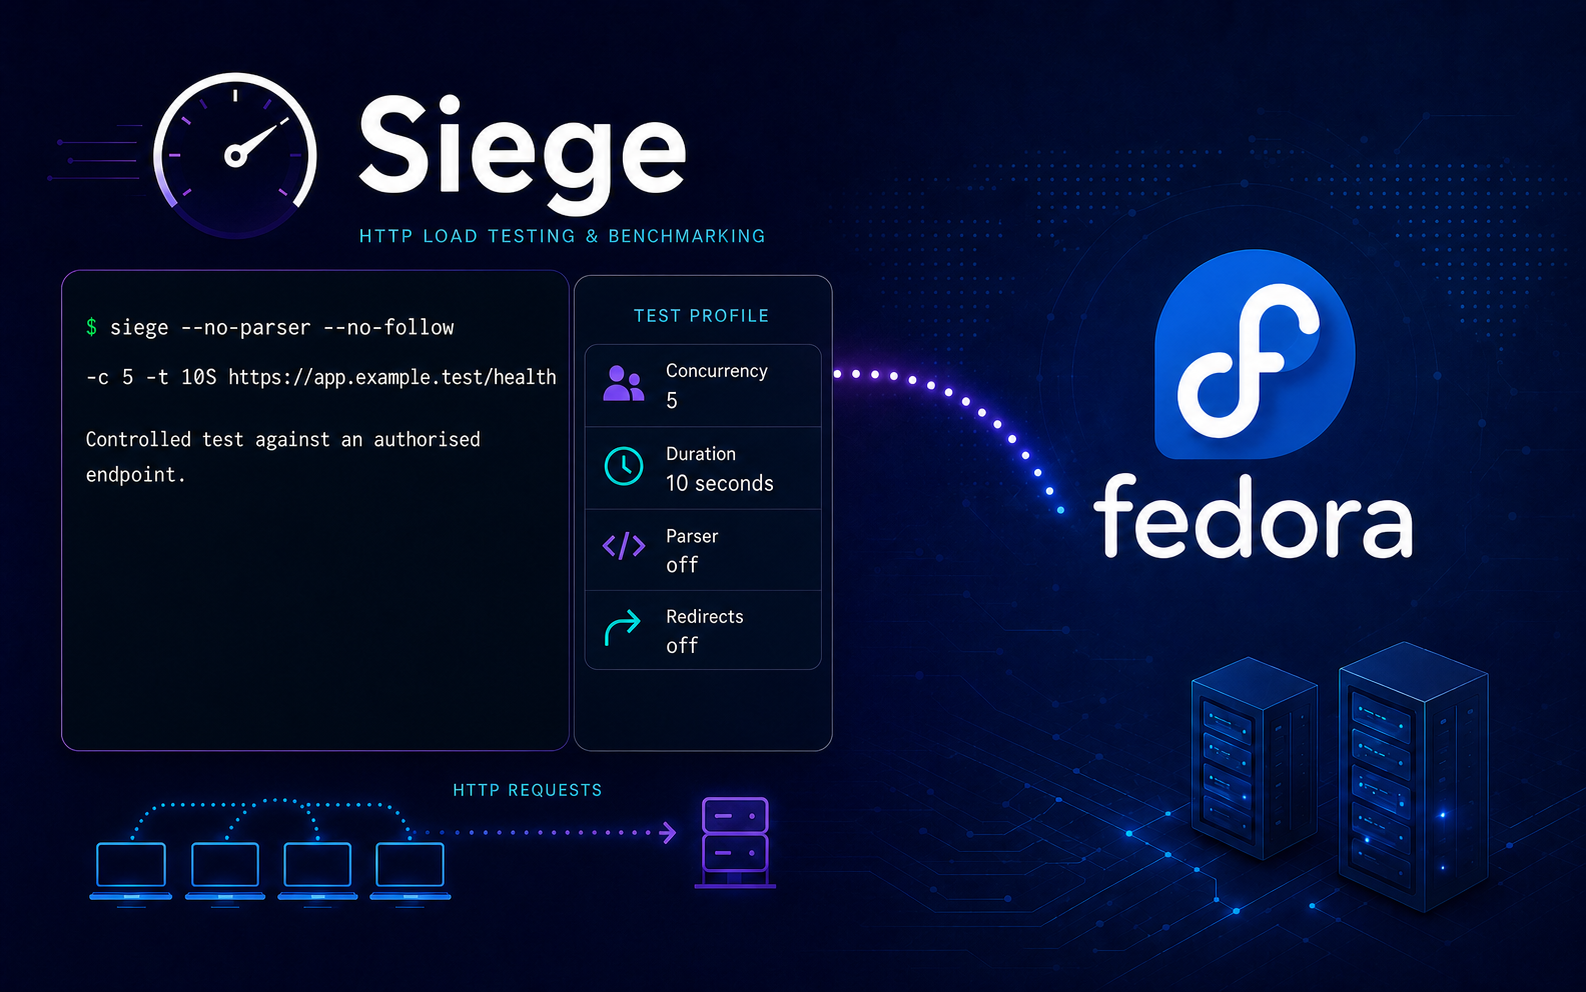
Repeatable load tests matter more than one aggressive result. Installing Siege on Fedora gives you a command-line client for comparing an authorised local or staging endpoint before and after an application, cache, or web-server change.
Fedora 44 provides Siege 4.1.7 from its official repositories, matching the current upstream stable release. Use DNF because a source build adds manual update and removal work without providing a newer stable version.
Install Siege on Fedora Linux
On Fedora 44, use this DNF workflow on mutable Workstation, Server, and Spins. Do not use these host-package commands on Fedora Atomic desktops; they require a different package model.
Update Fedora Before Installing Siege
Refresh repository metadata and apply pending package updates before installing Siege. Review the transaction before confirming it on shared systems.
sudo dnf upgrade --refreshThis command uses sudo for system package changes. If your account cannot run it, add the user to the Fedora sudoers configuration before continuing.
Install Siege with DNF
Install the siege package from Fedora’s official repositories:
sudo dnf install siegeUse Fedora’s official Siege package on Fedora 44. It provides Siege 4.1.7, the same stable release available from the upstream download index, without adding a COPR, third-party repository, or source-build maintenance.
The Fedora package installs the siege command and default files under /etc/siege. It does not install a systemd unit or start a listening process, so the client installation does not require a local firewalld rule or an SELinux policy change.
Verify Siege on Fedora
The first Siege invocation creates ~/.siege/siege.conf before processing the requested option, so even the version check initializes the current user’s configuration. Confirm the command path and upstream version:
command -v siege
siege --version
/usr/bin/siege SIEGE 4.1.7
Confirm that RPM reports the installed package and owns the active command:
rpm -q siege
rpm -qf "$(command -v siege)"
Both RPM checks should name the siege package. A command path under /usr/local/bin or ~/.local/bin usually means an older source installation is taking precedence over Fedora’s package.
Configure Siege on Fedora
Display the per-user settings that the current command will use:
siege -CA trimmed example from a newly generated Fedora 44 profile is:
verbose:                        true
HTML parser:                    enabled
get method:                     HEAD
connection:                     close
concurrent users:               25
socket timeout:                 30
cache enabled:                  false
delay:                          0.000 sec
internet simulation:            false
benchmark mode:                 false
logging:                        false
allow redirects:                true
siege -C reports the effective settings, so an existing ~/.siege/siege.conf may produce different values. Prefer command-line flags for test-specific choices and edit the user configuration with your preferred text editor only for deliberate persistent defaults.
siege -C Field | Fresh Fedora 44 Default | Effect and Test Guidance |
|---|---|---|
concurrent users | 25 | Sets simulated users; pass -c explicitly and start lower for a controlled test |
delay | 0 seconds | Sets the random pause before requests; -d 1 adds a delay of up to one second |
HTML parser | Enabled | Requests embedded assets; --no-parser prevents those requests, and --no-follow is also required for an exact direct-request count |
allow redirects | Enabled | Follows redirect targets; --no-follow keeps routing checks and request counts direct |
get method | HEAD | Controls the -g inspection request, which explains its header-only response |
cache enabled | Disabled | Controls Siege’s cache behavior; keep it unchanged between comparison runs |
verbose | Enabled | Prints transaction status lines; inspect target logs when you disable it |
connection | close | Controls connection reuse; keep the same behavior across comparison runs |
socket timeout | 30 seconds | Limits a socket wait; it is separate from the -t test duration |
internet simulation | Disabled | Selects URL-file entries in order; -i selects entries randomly |
benchmark mode | Disabled | Leaves benchmark mode off; -b forces request delays to zero, so use it only after a paced baseline |
logging | Disabled | Leaves persistent logging off; --log="$HOME/file" enables a user-writable log for one run |
The official Siege manual documents the full option set. Save the output of siege -C and the exact test command with your notes so you can verify that later runs use the same effective settings and flags.
Run Siege Load Tests on Fedora
Run Siege only against systems you own or are explicitly authorised to test. Start with low concurrency, agree on a test window, monitor both systems, and press
Ctrl+Cif the target or load-generating Fedora host shows resource pressure.
Replace the reserved example.test hostnames with an approved local or staging target. For a lab server, first install Nginx on Fedora or install Apache HTTPD on Fedora, then point Siege at the final URL that the server actually handles.
Inspect One Approved Endpoint
With Fedora’s generated configuration, -g sends one HEAD request. Use it to inspect DNS, routing, TLS, response headers, and redirects without downloading the response body:
siege -g "https://app.example.test/health"A HEAD response does not prove that a normal GET follows the expected application path or returns the expected status. Send one direct GET before adding concurrency; validate response content separately with an application-specific check:
siege --no-parser --no-follow -c 1 -r 1 "https://app.example.test/health"Continue only when both probes reach the intended endpoint. A redirect to a login page, maintenance page, or different hostname can make a later test operationally meaningless.
Use one -H option when an API requires a non-secret request header:
siege --no-parser --no-follow -c 1 -r 1 \
  -H "Accept: application/json" \
  "https://app.example.test/api/status"
Confirm the received header in target logs before a larger run. Siege 4.1.7 may not send every repeated -H option, so use this workflow only when one custom header is sufficient. Choose a separately verified client when a request needs several custom headers.
Run a Controlled Single-URL Test
The -c option sets concurrent users, while -r sets repetitions for each user. This command schedules exactly 50 direct requests. --no-parser prevents embedded assets from expanding the count, and --no-follow prevents redirect targets from adding requests:
siege --no-parser --no-follow -c 10 -r 5 "https://app.example.test/health"If Siege classifies all 50 responses as successful, relevant summary lines include:
Transactions:                  50 hits
Availability:              100.00 %
Successful transactions:      50
Failed transactions:           0
Response times, rates, throughput, and concurrency vary with the client and target. The counters above also do not prove application success by themselves, so confirm the expected status in the verbose lines or target logs before increasing load.
Use -t for a fixed duration. Siege accepts S, M, and H for seconds, minutes, and hours. The -d 1 option adds a random delay of up to one second before each request:
siege --no-parser -c 5 -t 30S -d 1 "https://app.example.test/api/status"Benchmark mode removes request delays and pushes the target more aggressively. Run it only after the paced baseline remains healthy, begin with modest concurrency, and stop it with Ctrl+C if either system becomes constrained:
siege -b --no-parser -c 5 -t 10S "https://app.example.test/api/status"A separate load-generating host produces more useful capacity data than running Siege on the target. Otherwise, client and server CPU, memory, disk, and network activity compete on one machine.
Test Several URLs and Save Comparable Results
Create a reusable URL file with one unquoted endpoint per line. The > redirection replaces an existing file, so back up ~/siege-urls.txt or choose another path if it already contains useful endpoints:
cat > "$HOME/siege-urls.txt" <<'EOF'
https://app.example.test/
https://app.example.test/about
https://app.example.test/contact
https://app.example.test/api/status
EOF
Use the file for a paced run and write the final statistics to a user-owned log. The mark records why the baseline was captured:
siege --no-parser --no-follow -c 5 -t 1M -d 1 \
  --log="$HOME/siege-results.log" \
  --mark="baseline before cache change" \
  -f "$HOME/siege-urls.txt"
Add -i when URL entries should be selected randomly instead of in file order. Keep that selection mode, the file, all other command options, and the load-generating host unchanged when comparing two runs, and change one target-side variable at a time.
Understand Siege Results
Fedora’s generated configuration prints individual transaction lines before the final summary. Compare trends only when the URL set, parser, cache, redirect handling, connection behavior, delay, concurrency, duration, and load-generating host remain consistent.
| Metric | Meaning | How to Read It |
|---|---|---|
| Transactions | Requests Siege counts as completed transactions | Redirects and parsed assets can increase the total; use --no-parser and --no-follow for an exact direct-request count |
| Availability | Siege’s completion ratio based on its transaction and failure counters | Do not treat 100% as proof of the expected application status or content |
| Elapsed time | Total wall-clock duration | Compare it with the requested -t window or use it with Transactions to interpret repetition-based runs |
| Response time | Average transaction response time | Compare before and after one controlled server or application change |
| Transaction rate | Completed transactions per second | Treat it as a trend for the same target and test profile |
| Throughput | Average data transfer rate in MB per second | Expect it to change when response sizes or compression change |
| Concurrency | Average simultaneous active transactions | Compare it with the requested users and target response behavior |
| Successful transactions | Responses Siege labels successful | Compare this with Transactions and the expected HTTP status |
| Failed transactions | Requests Siege classifies as failures | Some HTTP error responses remain outside this counter, so inspect target logs too |
Siege 4.1.7 can report 100% Availability for 404 and 429 responses even though neither is a successful application result. Confirm the expected status with the HEAD preflight and one-request GET, then inspect application or proxy logs. For an Nginx target, the Nginx access and error log guide shows where to verify the requested path and response.
Watch the Fedora load generator as well as the target; you can monitor CPU and memory with htop on Fedora. If the client reaches its CPU, file-descriptor, DNS, or network limit first, the result measures the client bottleneck rather than the web server’s capacity.
Export the Siege Summary as JSON
Use -j when a script needs the final aggregate summary as JSON instead of normal terminal output:
siege -j --no-parser --no-follow -c 2 -r 2 "https://app.example.test/health"Reformatted for readability, example output from a four-request loopback test is:
{
  "transactions": 4,
  "availability": 100.00,
  "elapsed_time": 0.00,
  "data_transferred": 0.00,
  "response_time": 0.00,
  "transaction_rate": 0.00,
  "throughput": 0.00,
  "concurrency": 0.00,
  "successful_transactions": 4,
  "failed_transactions": 0,
  "longest_transaction": 0.00,
  "shortest_transaction": 0.00
}
The loopback run completed below Siege’s displayed timing precision, so several values appear as 0.00; real timing and rate values vary. JSON mode returns an aggregate summary rather than a per-request trace. Fields such as transactions, successful_transactions, and failed_transactions can check Siege’s counted transaction, success, and failure totals, but endpoint automation must verify the expected HTTP status or content separately. Keep the full test profile with the result.
Update or Remove Siege on Fedora
Update Siege with Fedora Packages
Siege updates through Fedora’s package manager. Refresh metadata and update only the installed Siege package:
sudo dnf upgrade --refresh siegeVerify the upstream version and Fedora package build after DNF finishes:
siege --version
rpm -q siege
siege --version prints the upstream version, while rpm -q siege adds Fedora’s package release suffix. Both commands should continue to identify Siege after the update. For more package-management examples, use the Fedora DNF command reference.
Remove Siege from Fedora
Remove the RPM package and its Fedora-owned files:
sudo dnf remove siegeClear the shell command cache, then check whether another Siege binary remains:
hash -r
command -v siege
A fully removed DNF installation produces no output from command -v siege. If it still returns a path, a source build or manually copied binary remains outside RPM ownership. Confirm that the package database also reports removal:
rpm -q siegepackage siege is not installed
Remove Siege User Data
List the per-user Siege configuration and test files before deleting anything:
find "$HOME/.siege" "$HOME/siege-urls.txt" "$HOME/siege-results.log" \
  -maxdepth 0 -print 2>/dev/null
Review every printed path and copy any configuration, URL definitions, or result history you want to retain.
The next commands permanently delete the current user’s Siege configuration, cookies, URL file, and result log. Run them only after verifying the exact paths above.
rm -rf -- "$HOME/.siege"
rm -f -- "$HOME/siege-urls.txt" "$HOME/siege-results.log"
Troubleshoot Siege on Fedora
DNF Cannot Find the Siege Package
First check package visibility and the enabled repositories:
dnf info siege
dnf repo list --enabled
A healthy Fedora 44 system shows Siege from the official fedora repository and lists the base repositories as enabled. If the repositories are present but package information is stale, refresh the cache and retest:
sudo dnf makecache --refresh
dnf info siege
A persistent no-match result points to a disabled base repository, damaged repository configuration, or an unsupported Fedora release. Repair that repository condition before retrying the installation; no third-party source is required.
The Shell Uses the Wrong Siege Binary
List every matching command and inspect how the shell resolves the active name:
type -a siege
command -v siege
command -v siege must print an absolute filesystem path before an RPM ownership check. If it reports an alias or function, correct the responsible shell definition and start a fresh shell. Once the result begins with /, ask RPM which package owns that path:
rpm -qf "$(command -v siege)"The expected path is /usr/bin/siege, and the ownership result should name the Siege RPM. A path under /usr/local/bin or ~/.local/bin may shadow Fedora’s package. Remove or rename the old binary only after confirming how it was installed, then retest:
hash -r
type -a siege
command -v siege
rpm -qf "$(command -v siege)"
The active path should now be /usr/bin/siege, and RPM should identify the Fedora-owned Siege package.
Connection Refused, Timeout, or DNS Errors
Diagnose name resolution, the default HEAD probe, and one direct GET before changing concurrency:
getent ahosts app.example.test
siege -g "https://app.example.test/health"
siege --no-parser --no-follow -c 1 -r 1 "https://app.example.test/health"
The first command must return the intended address, while both Siege probes must reach the approved endpoint. If name lookup fails, use the curl host-resolution troubleshooting guide. Otherwise, fix the target listener, remote firewall, reverse proxy, or TLS routing and repeat all three checks. Siege is an outbound client, so opening an inbound port on the Fedora load generator does not solve a remote connection failure.
HTTP 403 or 429 Responses
Confirm the response with a single direct request before inspecting the target:
siege --no-parser --no-follow -c 1 -r 1 "https://app.example.test/health"A 403 or 429 usually comes from target-side access control, bot protection, or rate limiting. Confirm that the source is authorised, reduce concurrency, and inspect the proxy or application logs. Do not bypass a protection layer unless the system owner approved the test design. Retest one request after the target-side rule or test window is corrected; the expected application status must return before load testing resumes.
Siege Reports Too Many Open Files
High concurrency can exhaust file descriptors, memory, CPU, or local network resources on the Fedora client. Check the current soft and hard file-descriptor limits:
ulimit -Sn
ulimit -Hn
Reduce concurrency first and repeat a small direct-request test:
siege --no-parser --no-follow -c 2 -r 5 "https://app.example.test/health"The run should finish without a file-descriptor error. Do not run Siege with sudo merely to avoid a user limit; that hides the client constraint and gives a network testing process unnecessary privileges.
Siege Cannot Write the Log File
Inspect the configured log path first:
siege -CIf the configured path is not writable, choose an unused file under your home directory. If ~/siege-log-check.log already exists, choose another unused filename and substitute that same path in the test, verification, and cleanup commands below:
siege --log="$HOME/siege-log-check.log" --no-parser -c 2 -r 2 "https://app.example.test/health"Confirm that this run created a non-empty log:
test -s "$HOME/siege-log-check.log" && printf '%s\n' 'Siege log created'Siege log created
Remove the diagnostic log after the check:
rm -f -- "$HOME/siege-log-check.log"Keep user-run test logs under your home directory rather than running Siege as root to write under /var/log.
TLS Handshake or HTTPS Routing Errors
If curl is installed, reproduce the failure with a bounded GET request. The curl command guide explains its diagnostic options:
curl -v --output /dev/null --connect-timeout 10 --max-time 30 \
  "https://app.example.test/health"
Use curl’s verbose output to separate certificate trust problems from DNS, SNI, protocol, listener, or reverse-proxy failures. Repair the target certificate or install an approved internal CA when trusted clients reject the endpoint, then repeat both Siege checks:
siege -g "https://app.example.test/health"
siege --no-parser --no-follow -c 1 -r 1 "https://app.example.test/health"
Conclusion
Siege is installed from Fedora’s official package, with a low-concurrency baseline and DNF-managed updates. Change one server variable at a time, rerun the same URL, parser, cache, redirect, delay, and connection profile, and compare the final statistics. Increase concurrency only after the client and target remain healthy.


Formatting tips for your comment
You can use basic HTML to format your comment. Useful tags currently allowed in published comments:
<code>command</code>command<strong>bold</strong><em>italic</em><a href="https://example.com">link</a><blockquote>quote</blockquote>