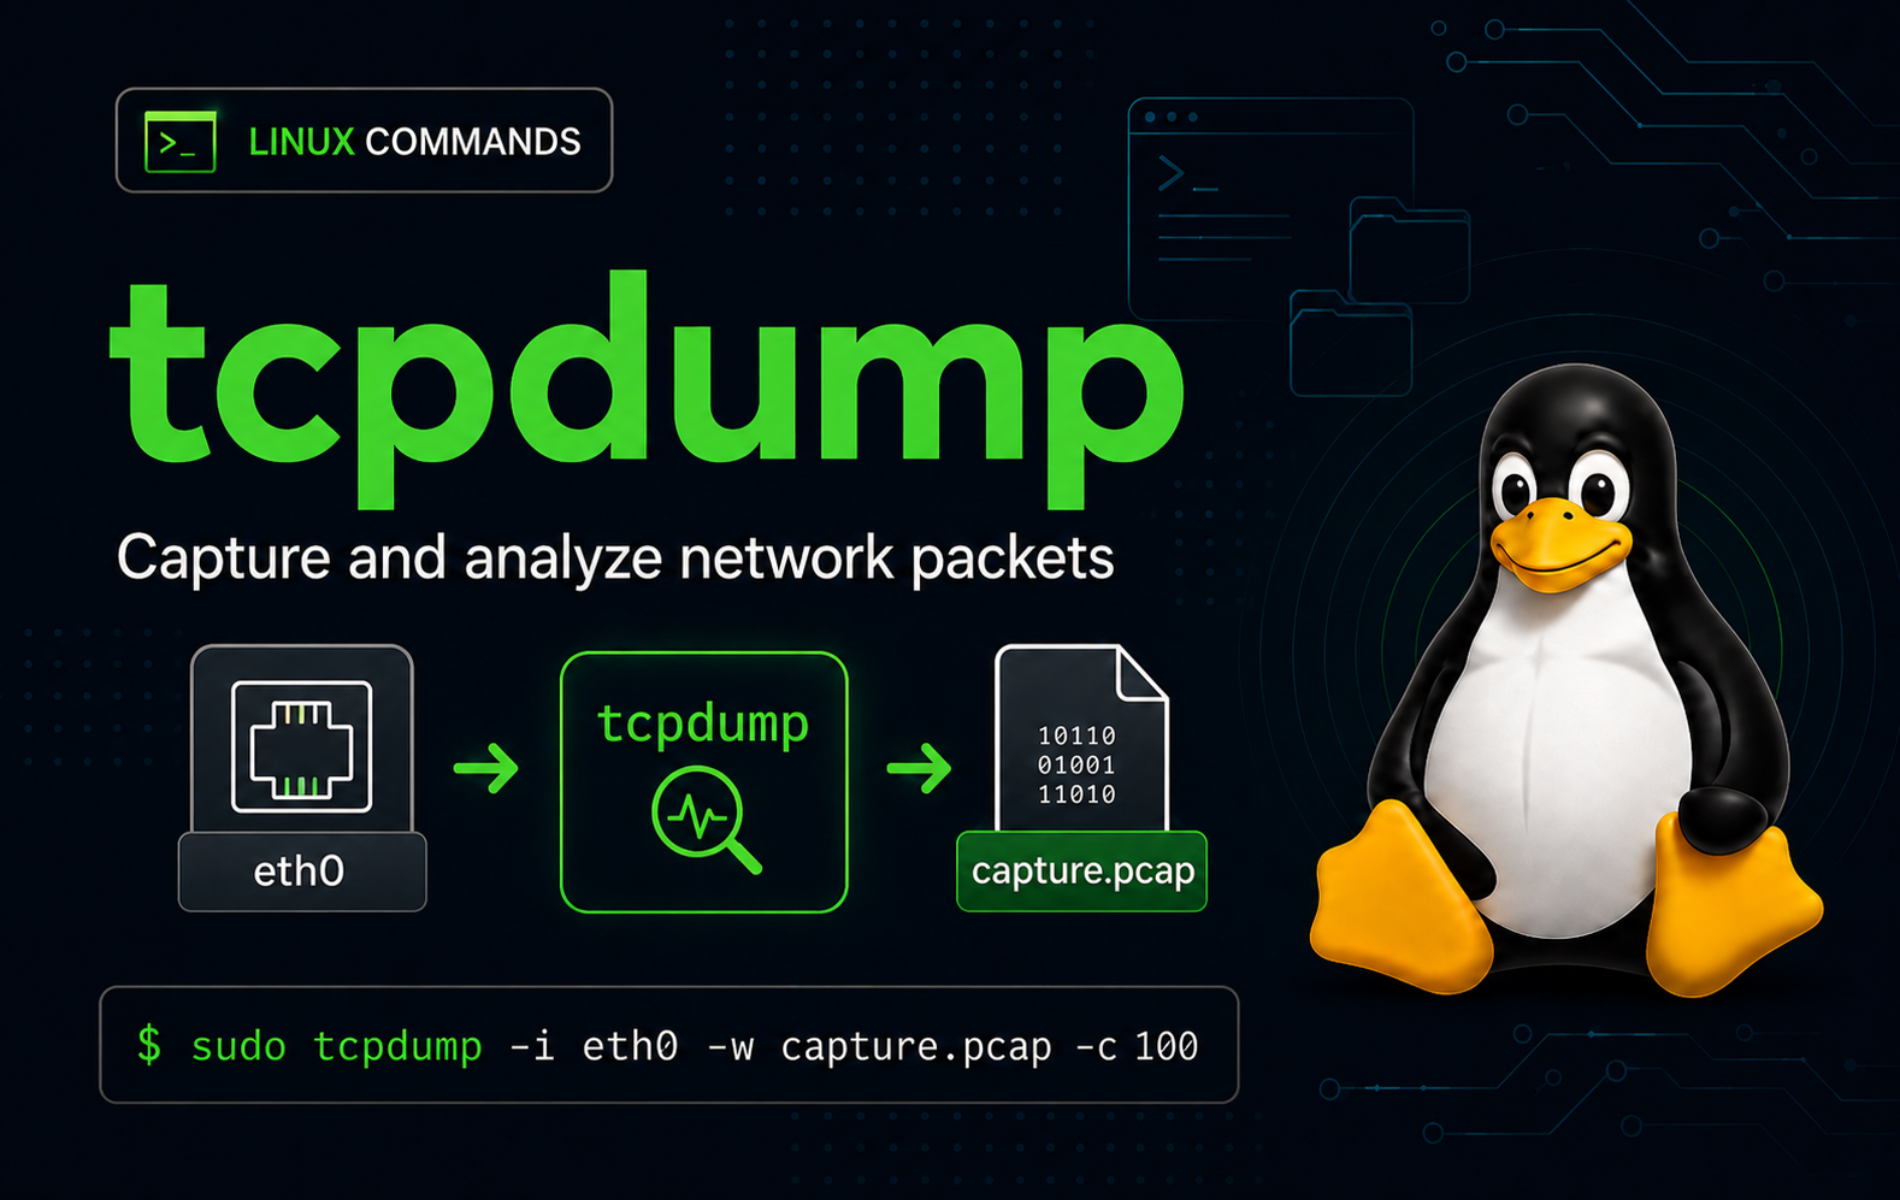
Packet captures answer questions that logs and port scans cannot: did the packet leave, did a reply come back, which interface saw it, and what did the protocol header contain? The tcpdump command in Linux keeps that investigation in the terminal, as long as the capture is scoped tightly enough to avoid collecting unrelated traffic.
Treat tcpdump as a diagnostic tool, not a background habit. Start with a packet count, a specific interface, numeric output, and a filter that matches the traffic you own or administer. Save full captures to pcap files only when you need later analysis in another tool.
Packet captures can include hostnames, IP addresses, cookies, tokens, DNS queries, and application data. Capture only networks and systems you own or have explicit authorization to inspect, and keep saved pcap files protected like other sensitive troubleshooting evidence.
Understand the tcpdump Command in Linux
tcpdump listens on a network capture device, applies an optional packet filter, and prints matching packet summaries or writes raw packets to a capture file. On Linux, live captures usually need root privileges or equivalent capture capabilities because the command opens a packet socket.
The tool is different from a scanner. tcpdump observes traffic that reaches the selected interface; it does not discover hosts or open ports by itself. For active discovery, use Nmap commands for beginners, then use tcpdump when you need packet-level proof.
Basic tcpdump Syntax
The common syntax names an interface, output options, and a packet filter expression:
sudo tcpdump [options] [filter expression]- [options]: Capture controls such as
-ifor interface,-nnfor numeric output,-cfor packet count,-wfor pcap output, and-rfor reading pcap files. - [filter expression]: A pcap-filter expression such as
icmp,host 203.0.113.10,tcp port 443, orudp port 53.
The tcpdump manual page documents the command options, while the pcap-filter manual page owns the filter language used after the options.
tcpdump Quick Reference
| Task | Command Pattern | What It Does |
|---|---|---|
| List capture devices | sudo tcpdump -D | Prints interfaces and pseudo-devices that tcpdump can use. |
| Capture five packets | sudo tcpdump -i any -nn -c 5 | Captures a small sample from the Linux any pseudo-interface. |
| Capture ICMP traffic | sudo tcpdump -i lo -nn -c 2 icmp | Shows ping request and reply packets on loopback. |
| Filter one host | sudo tcpdump -i any -nn host 203.0.113.10 | Shows packets with the host as either source or destination. |
| Filter one port | sudo tcpdump -i any -nn tcp port 443 | Shows TCP packets where either endpoint uses port 443. |
| Save a pcap file | sudo tcpdump -i any -nn -s 0 -w capture.pcap | Writes raw packets for later reading or GUI analysis. |
| Read a pcap file | tcpdump -nn -r capture.pcap | Prints packet summaries from a saved capture file. |
| Check filter syntax | tcpdump -d 'udp port 53 or icmp' | Compiles the filter and exits without capturing packets. |
Install or Verify tcpdump on Linux
Many server images include tcpdump for troubleshooting, but minimal installs and containers may omit it. Confirm the command path before changing package state:
command -v tcpdumpExpected output shows the installed binary:
/usr/bin/tcpdump
Print the packaged tcpdump and libpcap versions:
tcpdump --versionExample output from current Ubuntu and Fedora packages begins like this:
tcpdump version 4.99.6
libpcap version 1.10.6 (64-bit time_t, with TPACKET_V3)
OpenSSL 3.5.5 27 Jan 2026
64-bit build, 64-bit time_t
If the command is missing, install the tcpdump package from your distribution repositories. The package name is the same on the common Linux families listed here:
Debian, Ubuntu, and Linux Mint:
sudo apt update
sudo apt install tcpdump
Fedora, RHEL, Rocky Linux, and AlmaLinux:
sudo dnf install tcpdumpArch Linux and Manjaro:
sudo pacman -S tcpdumpopenSUSE:
sudo zypper install tcpdumpAlpine Linux:
sudo apk add tcpdumptcpdump updates through the same package manager that installed it. If you need to remove it later, use your distribution’s normal package-removal command, such as sudo apt remove tcpdump, sudo dnf remove tcpdump, sudo pacman -R tcpdump, sudo zypper remove tcpdump, or sudo apk del tcpdump. On multi-user servers, confirm whether anyone relies on packet-capture troubleshooting before removing the package.
Find Network Interfaces for tcpdump
Choosing the wrong interface is the most common reason a capture appears empty. List the capture devices that tcpdump can open:
sudo tcpdump -DExample output on a virtual machine includes a physical interface, the Linux any pseudo-interface, loopback, and several special capture devices:
1.ens33 [Up, Running, Connected]
2.any (Pseudo-device that captures on all interfaces) [Up, Running]
3.lo [Up, Running, Loopback]
4.bluetooth-monitor (Bluetooth Linux Monitor) [Wireless]
5.nflog (Linux netfilter log (NFLOG) interface) [none]
6.nfqueue (Linux netfilter queue (NFQUEUE) interface) [none]
Use the interface name with -i. On Linux, -i any is useful when you do not know which interface will see the packet, but it has two important limits: it uses a cooked Linux capture format and does not support promiscuous mode. A named Ethernet or Wi-Fi interface is better when link-layer details matter.
Use ip when you need the operating system’s view of links and addresses before choosing an interface:
ip -brief addressCapture Packets with tcpdump
Start with small captures. The -c option exits after a fixed packet count, which prevents accidental long-running captures over SSH or on busy interfaces.
Capture ICMP Packets on Loopback
Loopback is a safe first target because it stays inside the local system. Start the capture in one terminal:
sudo tcpdump -i lo -nn -c 2 icmpGenerate two matching packets from another terminal:
ping -c 1 127.0.0.1Example tcpdump output shows the ICMP request and reply. Timestamps and packet IDs will differ:
tcpdump: verbose output suppressed, use -v[v]... for full protocol decode
listening on lo, link-type EN10MB (Ethernet), snapshot length 262144 bytes
19:58:04.567867 IP 127.0.0.1 > 127.0.0.1: ICMP echo request, id 47663, seq 1, length 64
19:58:04.567896 IP 127.0.0.1 > 127.0.0.1: ICMP echo reply, id 47663, seq 1, length 64
2 packets captured
4 packets received by filter
0 packets dropped by kernel
The summary lines matter. packets captured is what tcpdump processed, received by filter is the kernel-side filter count, and dropped by kernel warns that the capture buffer could not keep up.
Capture from All Linux Interfaces
Use any when traffic may enter through one interface and leave through another, or when you are not sure which interface owns the path:
sudo tcpdump -i any -nn -c 10On Linux, tcpdump can print a warning because any is a pseudo-device rather than a normal promiscuous interface:
tcpdump: WARNING: any: That device doesn't support promiscuous mode
(Promiscuous mode not supported on the "any" device)
tcpdump: verbose output suppressed, use -v[v]... for full protocol decode
listening on any, link-type LINUX_SLL2 (Linux cooked v2), snapshot length 262144 bytes
This warning is normal for -i any. It does not mean the capture failed. If you need Ethernet source and destination MAC addresses or true promiscuous behavior on a switched network, capture on the specific interface instead.
Use Numeric Output for Faster Troubleshooting
Name lookups can slow captures and hide the exact addresses or port numbers you need. Use numeric output for routine troubleshooting:
sudo tcpdump -i any -nn -c 20The -n option disables name conversion in current tcpdump builds, and the common -nn form keeps numeric display explicit in command history and shared runbooks.
Filter tcpdump by Host, Port, and Protocol
Packet filters keep captures useful and reduce the chance of collecting unrelated data. Put the filter expression after tcpdump options, and quote expressions that use spaces, parentheses, or shell-sensitive operators.
Filter by Host or Network
Capture traffic where a documentation-reserved host is either source or destination:
sudo tcpdump -i any -nn host 203.0.113.10Use direction qualifiers when only one side matters:
sudo tcpdump -i any -nn 'src host 203.0.113.10'
sudo tcpdump -i any -nn 'dst host 203.0.113.10'
Capture a documentation-reserved subnet when you need a broader path check:
sudo tcpdump -i any -nn 'net 203.0.113.0/24'Filter by Port and Protocol
Use protocol-qualified port filters when you know whether the traffic is TCP or UDP:
sudo tcpdump -i any -nn 'tcp port 443'
sudo tcpdump -i any -nn 'udp port 53'
A plain port 53 filter can match TCP, UDP, or SCTP depending on the packet. Add udp for ordinary DNS queries. When the troubleshooting question is DNS resolution rather than packet capture, compare the packet evidence with nslookup command examples.
Capture a small port range when a service uses adjacent ports:
sudo tcpdump -i any -nn 'tcp portrange 8000-8100'Combine tcpdump Filters
Use and, or, and not to narrow busy captures. Quote the whole expression so the shell does not treat parentheses or exclamation marks as its own syntax:
sudo tcpdump -i any -nn 'host 203.0.113.10 and tcp port 443'
sudo tcpdump -i any -nn '(tcp port 80 or tcp port 443) and not host 203.0.113.20'
When you are capturing from a remote shell, remember your SSH connection is traffic too. If your filter is broad, exclude the SSH server or port only after confirming that doing so will not hide the packet path you are investigating:
sudo tcpdump -i any -nn 'not tcp port 22'If the SSH session itself is failing or unstable, fix the login path with the ssh command in Linux before relying on remote packet capture.
Check tcpdump Filter Syntax Without Capturing
The -d option compiles a filter into packet-matching instructions and exits. Use it to catch syntax problems before starting a long capture:
tcpdump -d 'udp port 53 or icmp'Relevant output begins with compiled BPF instructions:
(000) ldh      [12]
(001) jeq      #0x86dd          jt 2	jf 8
(002) ldb      [20]
(003) jeq      #0x11            jt 4	jf 20
A malformed expression fails before a capture starts:
tcpdump -d 'tcp port'tcpdump: can't parse filter expression: syntax error
Save and Read pcap Files with tcpdump
Printed summaries are enough for quick checks, but pcap files preserve packet data for later review. Use a tight filter, a packet count or rotation limit, and a directory with restricted access.
Write Packets to a pcap File
Create a private capture directory before writing packets:
mkdir -p ~/tcpdump-captures
chmod 700 ~/tcpdump-captures
The mkdir command guide explains -p for nested directories, and the chmod command guide covers permission modes such as 700.
Capture a small loopback ICMP sample and write the raw packets to a pcap file:
sudo tcpdump -i lo -nn -s 0 -c 2 -w ~/tcpdump-captures/icmp-loopback.pcap icmpGenerate one local ping from another terminal while the capture is running:
ping -c 1 127.0.0.1The -w option writes raw packets instead of parsed summaries. The -s 0 form keeps the default full-packet snapshot length on current tcpdump releases, which avoids truncating application headers when you need later analysis.
Read a Saved pcap File
Reading a pcap file does not require capture privileges, but normal filesystem permissions still apply:
tcpdump -nn -r ~/tcpdump-captures/icmp-loopback.pcapUse the same filter language while reading a file when you want to narrow saved traffic without recapturing:
tcpdump -nn -r ~/tcpdump-captures/icmp-loopback.pcap 'icmp and host 127.0.0.1'Example output from a loopback ICMP capture shows both packets from the saved file:
19:55:10.744886 IP 127.0.0.1 > 127.0.0.1: ICMP echo request, id 47661, seq 1, length 64
19:55:10.745105 IP 127.0.0.1 > 127.0.0.1: ICMP echo reply, id 47661, seq 1, length 64
Open the same pcap in Wireshark when you need protocol trees, stream following, or GUI packet inspection. For distro-specific setup, use Install Wireshark on Ubuntu, Install Wireshark on Debian, or Install Wireshark on Fedora.
Rotate tcpdump Capture Files
Long captures need rotation so one file does not grow without bound. Some packaged builds, including Ubuntu and Fedora packages, drop capture privileges to the tcpdump user, so rotated files need a directory that user can write after the first file opens:
getent passwd tcpdump
getent group tcpdump
If both commands print a tcpdump entry, create a tcpdump-owned rotation directory:
sudo install -d -m 750 -o tcpdump -g tcpdump /var/tmp/tcpdump-capturesIf your distribution uses a different privilege-drop user, use that package’s user and group instead of copying -o tcpdump -g tcpdump.
Rotate by time with -G and stop after a fixed number of files with -W:
sudo tcpdump -i any -nn -s 0 -G 300 -W 12 -w '/var/tmp/tcpdump-captures/capture-%Y%m%d-%H%M%S.pcap' 'host 203.0.113.10'This form writes one file every 300 seconds and exits after 12 rotated files. Use a timestamp format in the filename; without a time pattern, time-based rotation can overwrite the previous file.
Rotate by size with -C when disk usage is the primary limit:
sudo tcpdump -i any -nn -s 0 -C 50 -W 5 -w /var/tmp/tcpdump-captures/capture.pcap 'host 203.0.113.10'With -C 50, tcpdump checks whether the current capture file is larger than 50 million bytes before opening the next file. With -W 5, size-based rotation keeps a five-file rotating buffer.
Removing the rotation directory permanently deletes every pcap file in that path. Copy the captures you need before cleaning up.
sudo rm -rf /var/tmp/tcpdump-capturesInspect Packet Details with tcpdump
Increase Verbosity
Add one or more -v flags when the normal summary is too compact:
sudo tcpdump -i any -nn -vv -c 10 'tcp port 443'Verbose output can show details such as TTL, packet length, flags, and checksum interpretation. Keep verbose captures short because they are harder to scan during an incident.
Show Link-Level Headers
Add -e when Ethernet source and destination addresses matter, such as a VLAN, bridge, ARP, or duplicate-MAC investigation:
sudo tcpdump -i ens33 -nn -e -c 20 'arp or icmp'Replace ens33 with a real interface from sudo tcpdump -D. Link-layer headers are more useful on a named interface than on the Linux any pseudo-interface.
Print Packet Payload as ASCII or Hex
Use payload views only when the traffic is expected to be plain text or when you are inspecting protocol framing. HTTPS payloads will still be encrypted:
sudo tcpdump -i any -nn -A -s 0 -c 10 'tcp port 80'
sudo tcpdump -i any -nn -X -s 0 -c 10 'tcp port 80'-Aprints packet payload as ASCII, which is useful for old plaintext protocols and quick header checks.-Xprints payload in hex and ASCII, which is better when binary framing or nonprintable bytes matter.
Practical tcpdump Troubleshooting Workflows
Confirm DNS Queries Leave the Host
Capture DNS traffic when an application reports name-resolution failures but you need to prove whether the host actually sends a query:
sudo tcpdump -i any -nn -c 20 'udp port 53 or tcp port 53'Generate a DNS lookup in another terminal with a tool such as nslookup, dig, or the application that is failing. If no packets appear, check the resolver configuration, application sandbox, or local DNS stub before blaming the remote DNS server.
Check Whether a Service Receives Connections
When a web service appears unreachable, capture the server port while a client attempts a connection:
sudo tcpdump -i any -nn -c 20 'tcp port 443'If SYN packets arrive but no replies leave, the problem is likely local: service listener, firewall, routing, SELinux/AppArmor policy, or application state. If no packets arrive, inspect the client path, DNS, upstream firewall, load balancer, or cloud security rule. Use curl command checks when you need an HTTP-layer request to pair with the packet capture.
Capture Only the Start of TCP Connections
TCP flag filters help when a busy host has too much established traffic. Capture initial SYN packets with a tested pcap-filter expression:
sudo tcpdump -i any -nn 'tcp[tcpflags] & tcp-syn != 0 and tcp[tcpflags] & tcp-ack == 0'This filter matches connection attempts before the server replies. Add and host 203.0.113.10 or and tcp port 443 to narrow the capture further.
Troubleshoot Common tcpdump Errors
Permission Denied or CAP_NET_RAW Required
Live captures fail without packet-capture privileges. A normal user can see an error like this:
tcpdump: lo: You don't have permission to perform this capture on that device
(Attempt to create packet socket failed - CAP_NET_RAW may be required)
Retest the same capture with sudo:
sudo tcpdump -i lo -nn -c 2 icmpIf sudo is not available, ask an administrator for temporary capture access or use a system-approved capture group or capability workflow. Do not set broad capabilities on production troubleshooting tools unless your security policy explicitly allows that model.
No Such Device Exists
A stale interface name fails before tcpdump starts:
tcpdump: missing0: No such device exists
(No such device exists)
List current capture devices, then rerun the capture with a real name:
sudo tcpdump -D
ip -brief link
Interface names can change across virtual machines, cloud images, USB adapters, and predictable-network-interface naming schemes. Prefer names from the current host instead of copying eth0 from old notes.
tcpdump Runs but Shows No Packets
An empty capture usually means the interface, filter, or traffic generator does not match the real path. Start with a wider but still bounded diagnostic:
sudo tcpdump -i any -nn -c 20If packets appear there, tighten the filter one piece at a time. If nothing appears, generate local traffic with ping -c 1 127.0.0.1 and capture on lo. A successful loopback capture proves tcpdump works, so the remaining problem is the interface choice, remote traffic path, firewall, routing, or application behavior.
Bad TCP or UDP Checksums in Output
Outgoing packets can show bad checksums when the network card calculates checksums after tcpdump sees the packet. First, confirm whether the issue appears only for outgoing traffic on the sending host. If the receiver sees valid traffic, checksum offload is the likely explanation.
Disable checksum verification in the tcpdump display when offload noise hides the useful packet fields:
sudo tcpdump -i any -nn -K -c 20 'tcp or udp'The -K option changes tcpdump’s checksum interpretation; it does not change the network adapter or fix a real packet corruption problem.
Saved Capture File Is Too Large
A large pcap usually means the capture ran too long or the filter was too broad. Stop the capture with Ctrl + C, check the file size, and read only the part that matters:
ls -lh ~/tcpdump-captures
tcpdump -nn -r ~/tcpdump-captures/capture.pcap 'host 203.0.113.10 and tcp port 443'
For the next run, add -c, -G, -C, and a stricter filter before writing another file.
Conclusion
tcpdump is ready for controlled packet captures with verified interfaces, numeric output, bounded packet counts, useful filters, pcap file handling, and common error checks. Pair it with DNS tools, curl probes, or Nmap scans when the question shifts from packet evidence to name resolution, HTTP behavior, or service discovery.

Formatting tips for your comment
You can use basic HTML to format your comment. Useful tags currently allowed in published comments:
<code>command</code>command<strong>bold</strong><em>italic</em><a href="https://example.com">link</a><blockquote>quote</blockquote>